Integrating Microshare™ into Senet
How to: stream IoT packets from Senet to Microshare
This tutorial assumes that you already registered for and have a Senet Developer account. It also assumes that you have provisioned at least one device sending uplink packages to Senet.
This tutorial will show you how to configure your Senet devices to forward IoT data to the Microshare data lake. It will take you through creating a Microshare account, generating a streaming token, and using it in a Senet notification target. After this you’ll be able to use the functionality of the Microshare platform to share your data securely, build data workflows, Apps, etc.
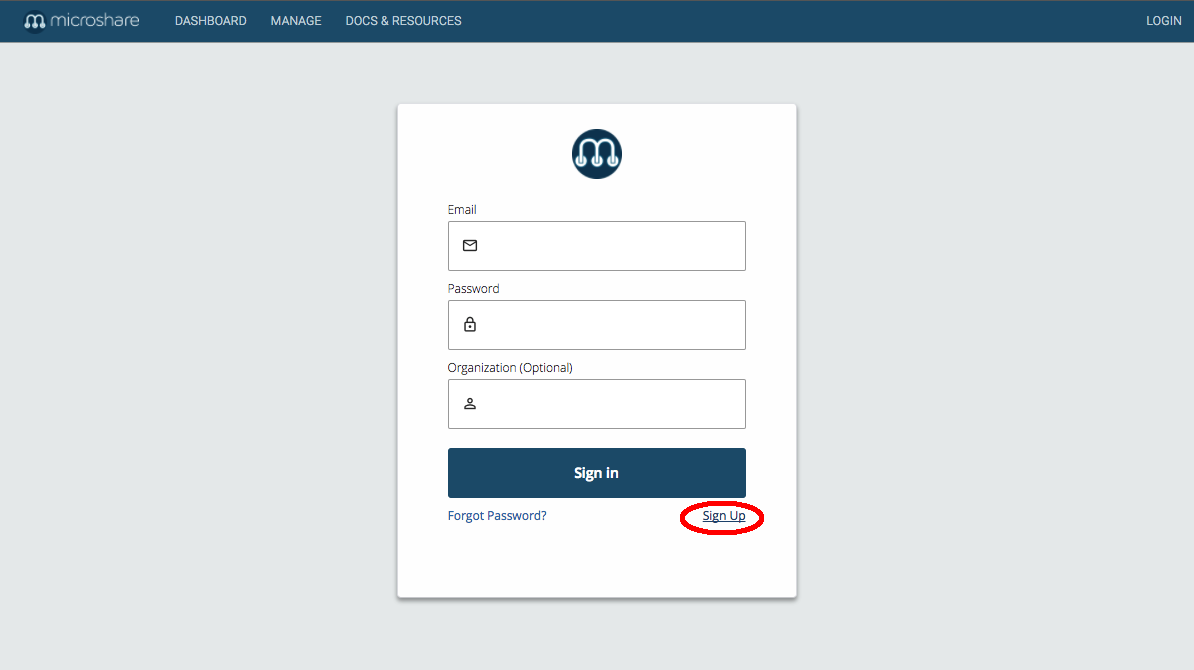
Register for a Microshare account
The Microshare registration process is simple.
- Browse to https://app.microshare.io.
-
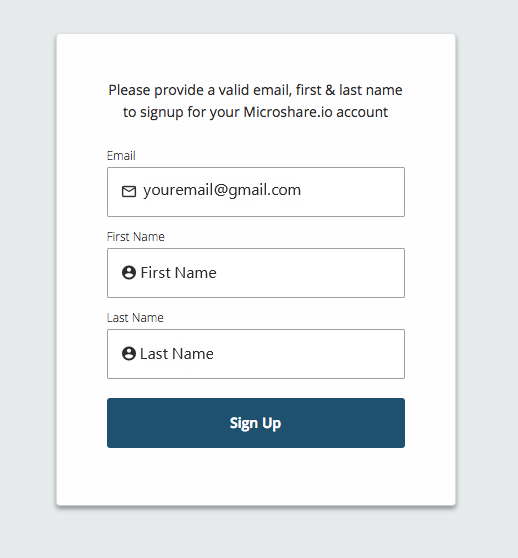
Click Sign Up.
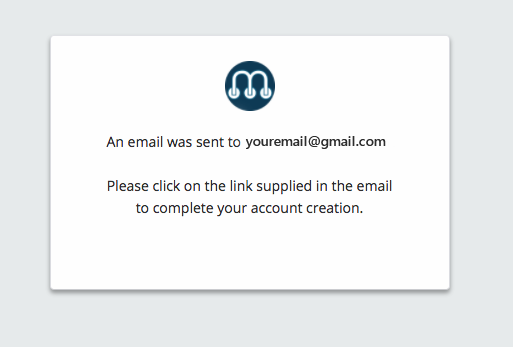
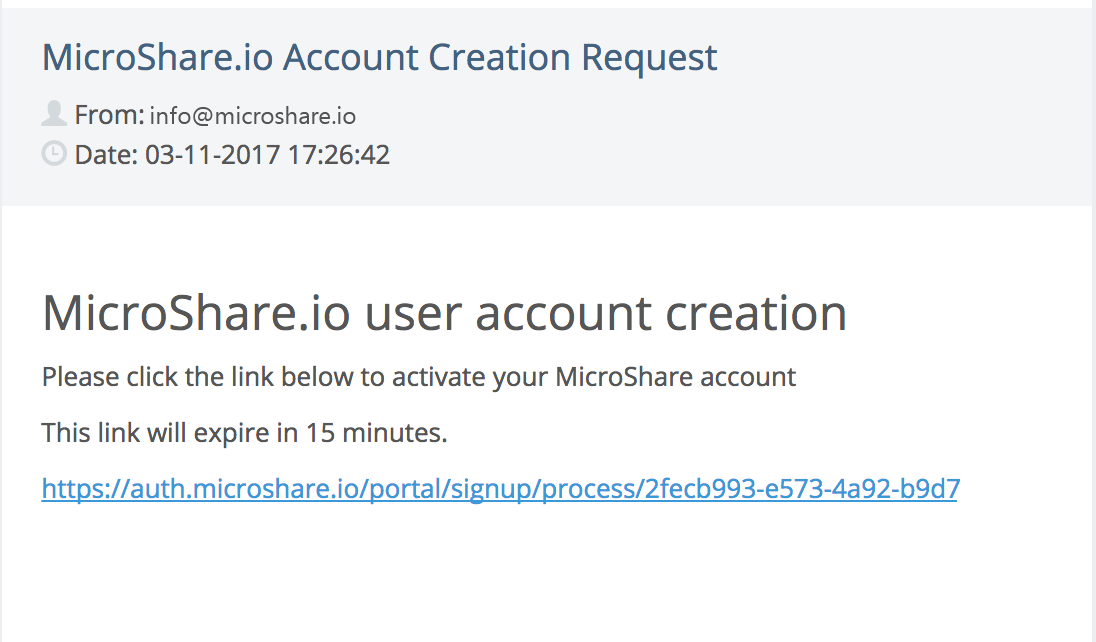
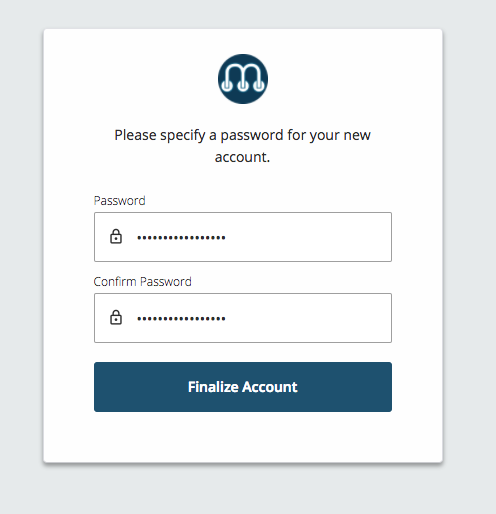
- You will receive an email asking you to confirm your account & setting your account password.
Your experience should be similar to the screenshots below.
How to send data to microshare
Now that you have created your account, you own a little piece of the microshare data lake. You will now use Senet’s automated redirection of packets, aka a device’s notification target, to pass that data through to microshare’s RESTful API.
The API needs to know two things when receiving data from an external service:
- The owner of the data
- The category of the data
These two pieces of information are configured in Senet’s notification target.
To identify yourself as the owner of the streamed data, you must generate a token for your microshare account. Generating this token will be covered in the next section.
The category under which every one of your data packets get stored in microshare is called a recType (as in the Type of your Record). There are no preset categories, you can use whatever you want, and even reuse a recType for two separate devices. We will give you some tips on how to determine recTypes later
Generate a Microshare Pipe Token
Now you’ll generate a Pipe Token using microshare’s API. The easiest way to interact with the microshare api is to use Postman.
To install Postman on your computer:
-
Go to our API documentation page
-
Click on the
Run in Postmanbutton to install Postman on you computer and automatically load in our Postman API collection and environment.
If that fails, go to the Postman website to install Postman manually, then download and import the collection and environment from our API documentation page. -
Open Postman on your computer to see the microshare collection. You can select and manage environment from the top right of your Postman app.
To use the token generation calls, you need to identify yourself with your username, password and an APIkey.
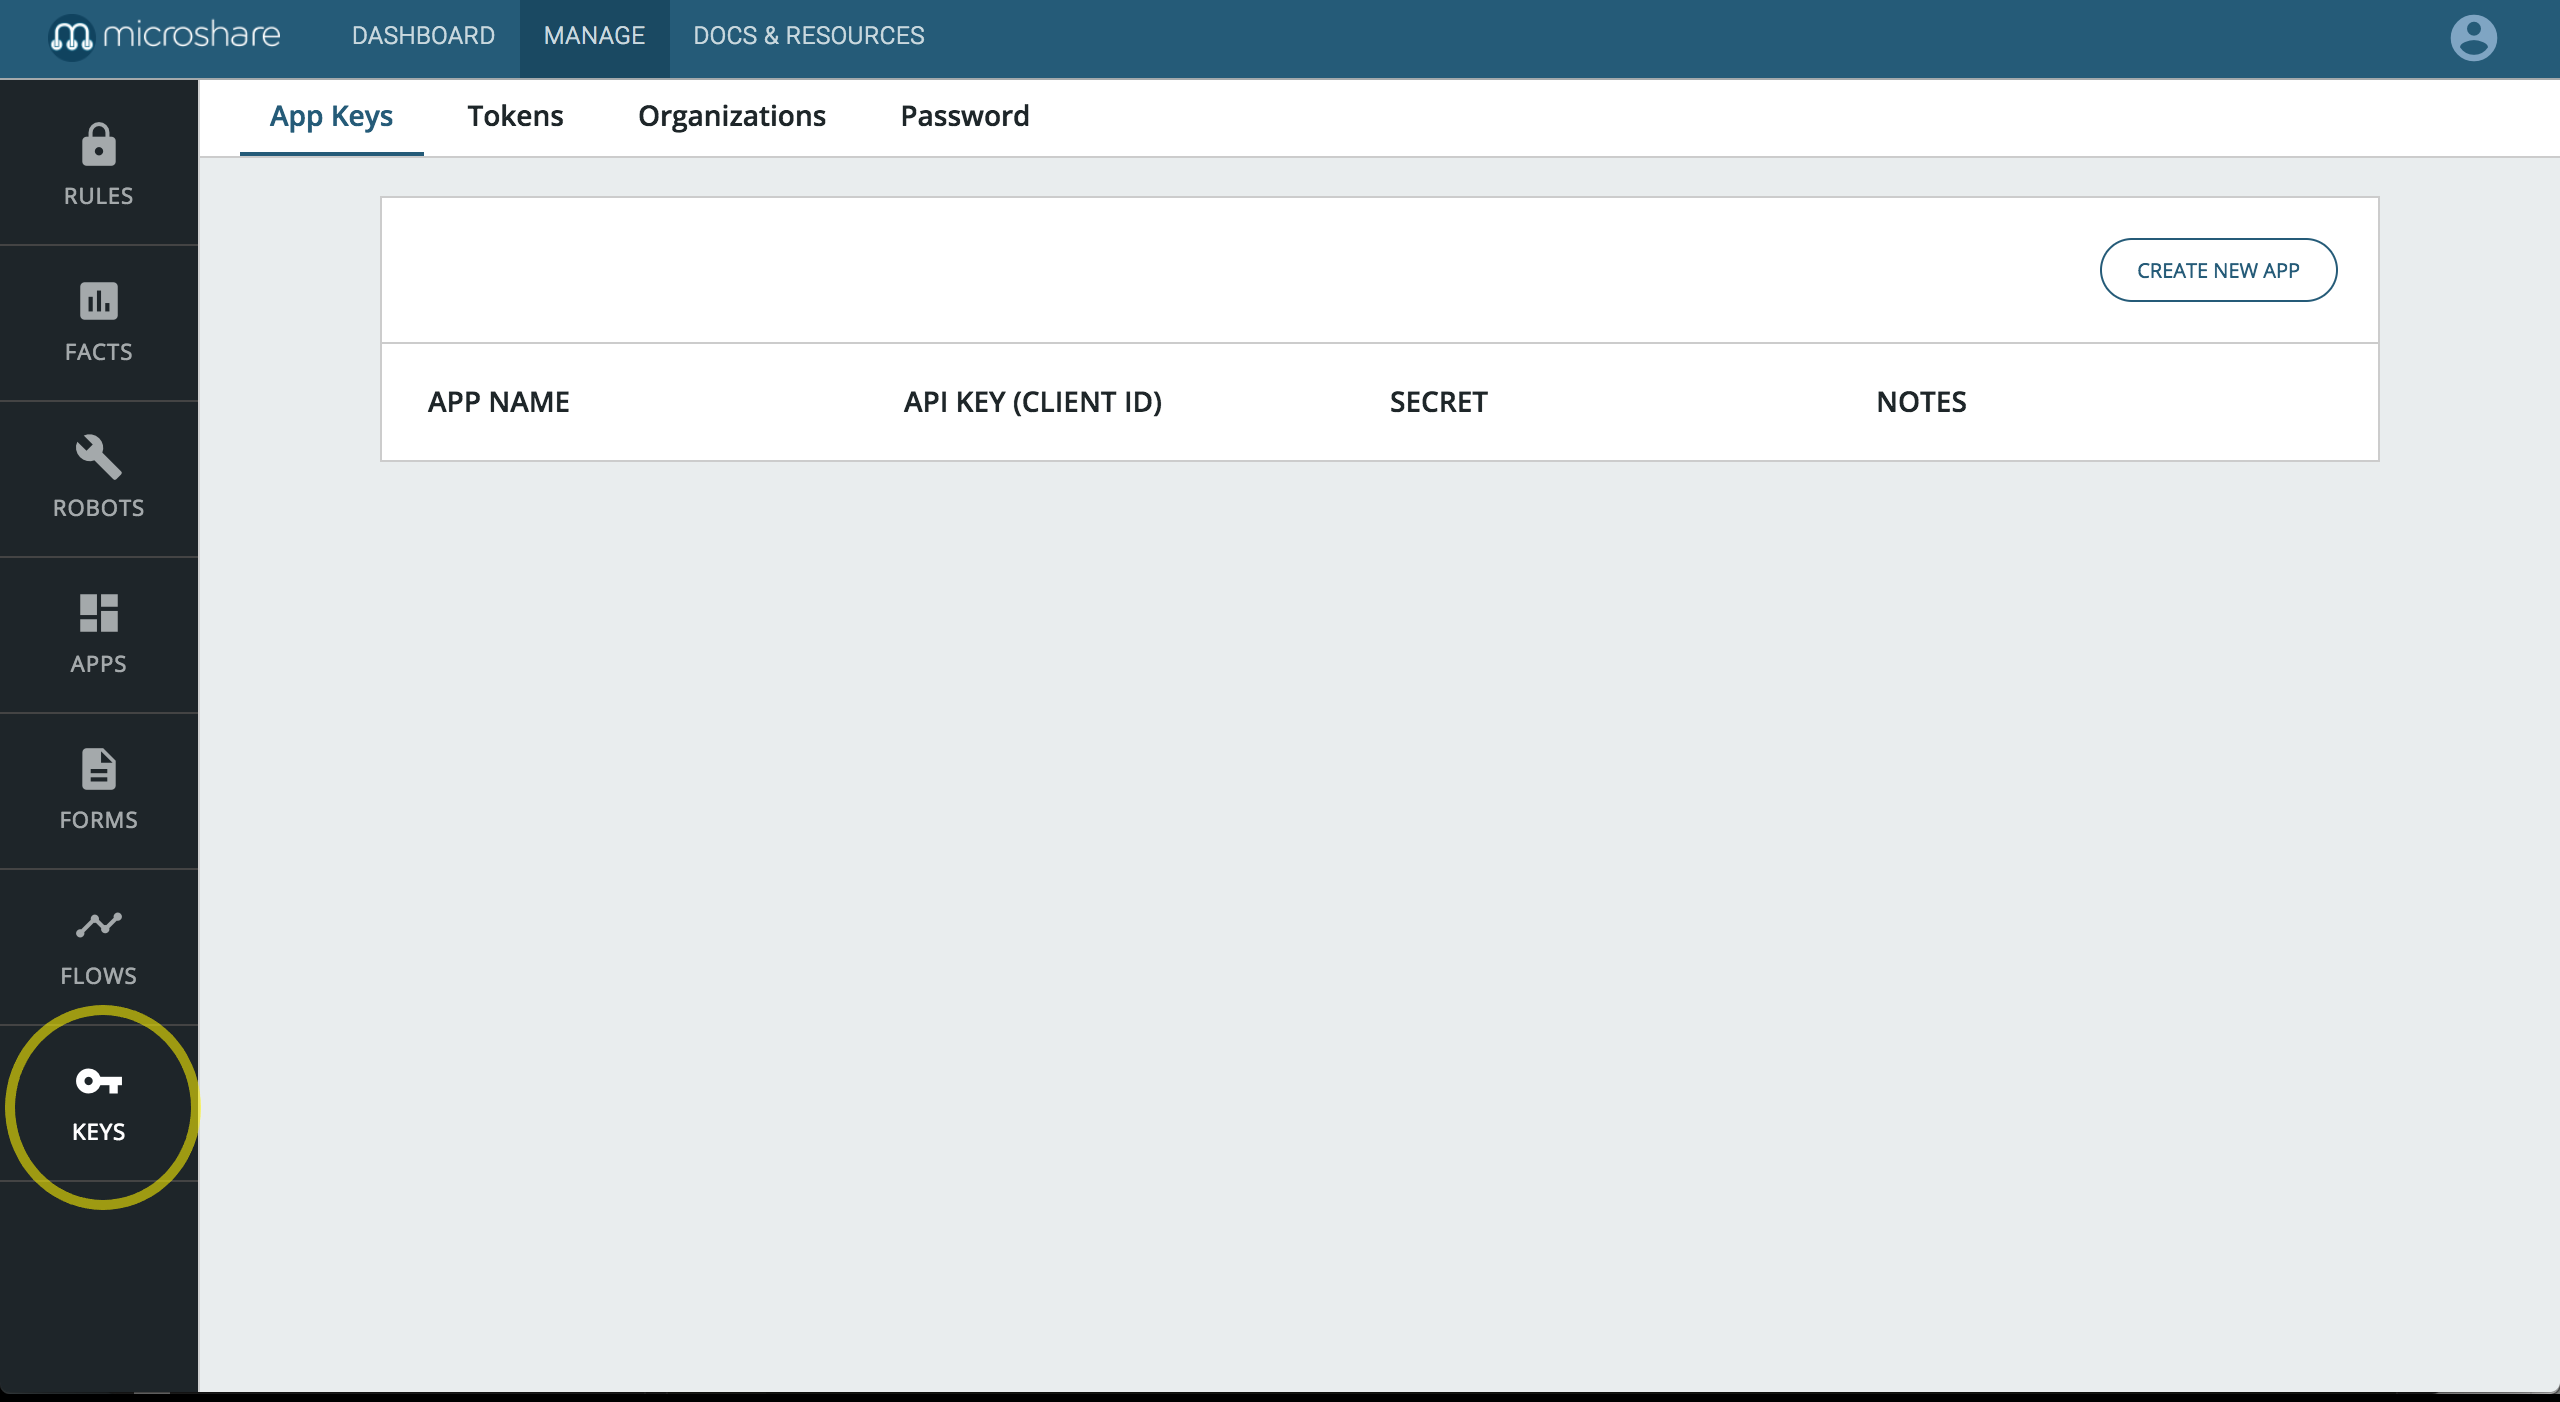
To get a microshare APIkey:
- Log in your microshare account
- Go to
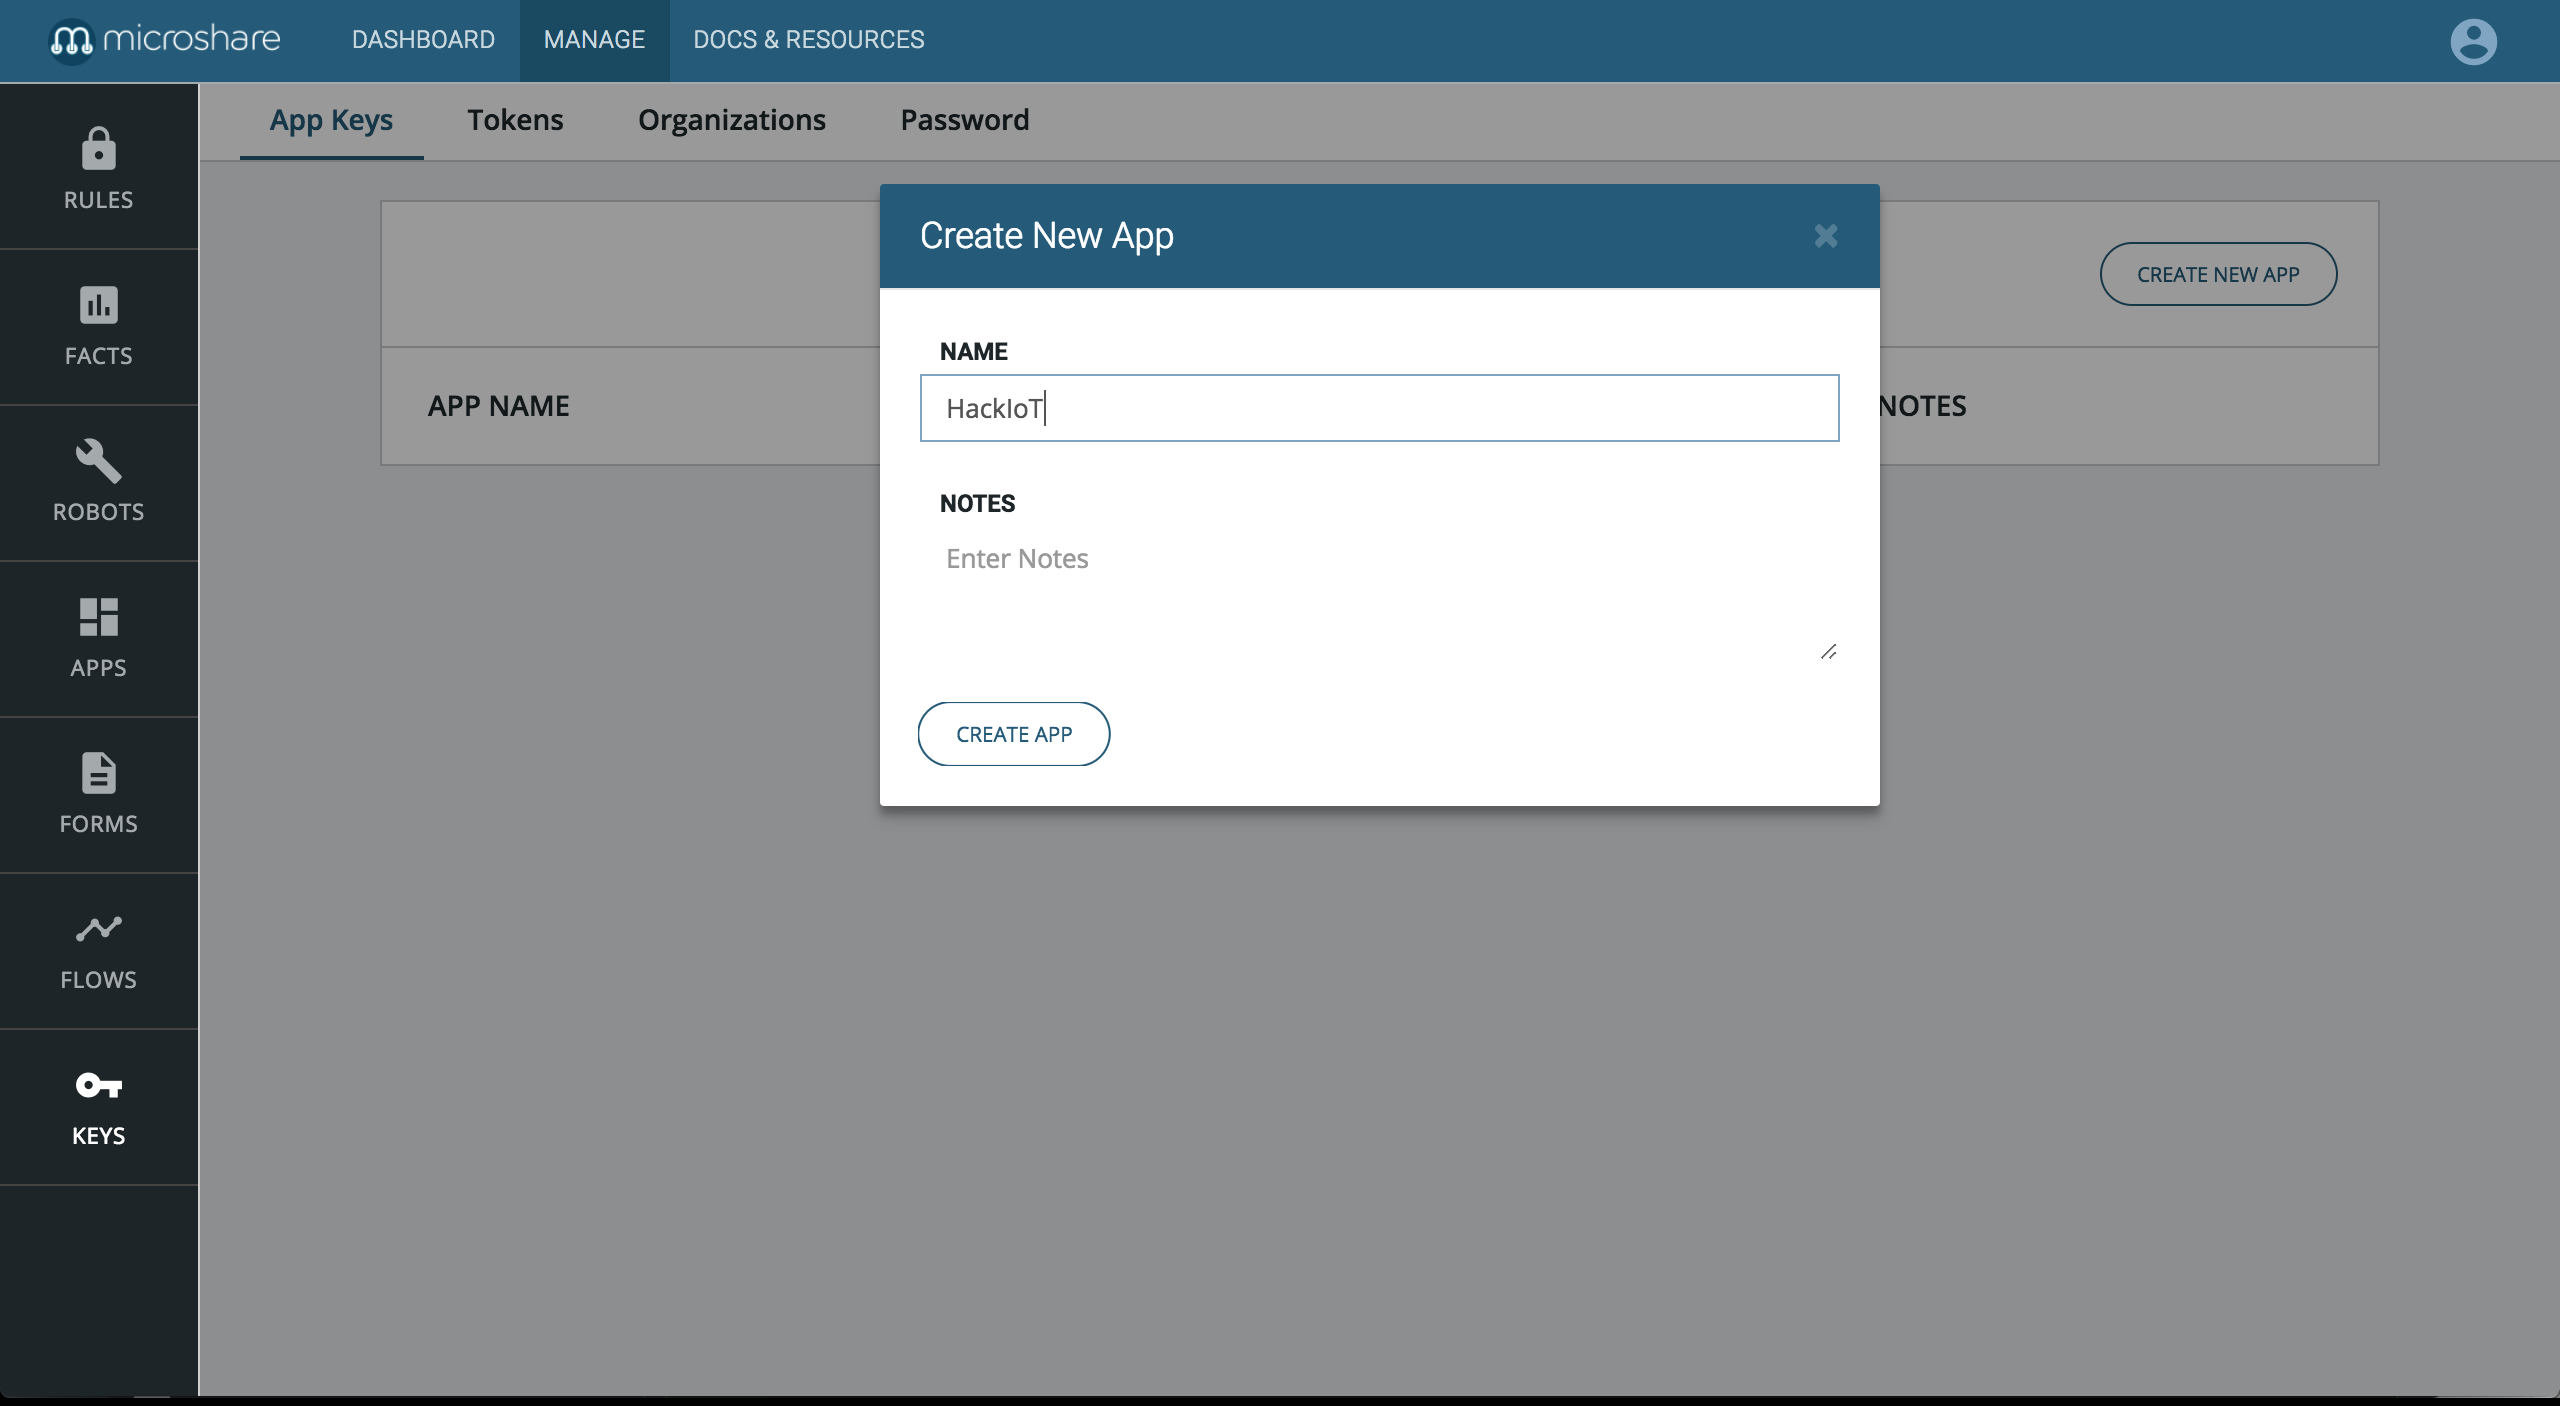
Manage -> Keys. - Clic
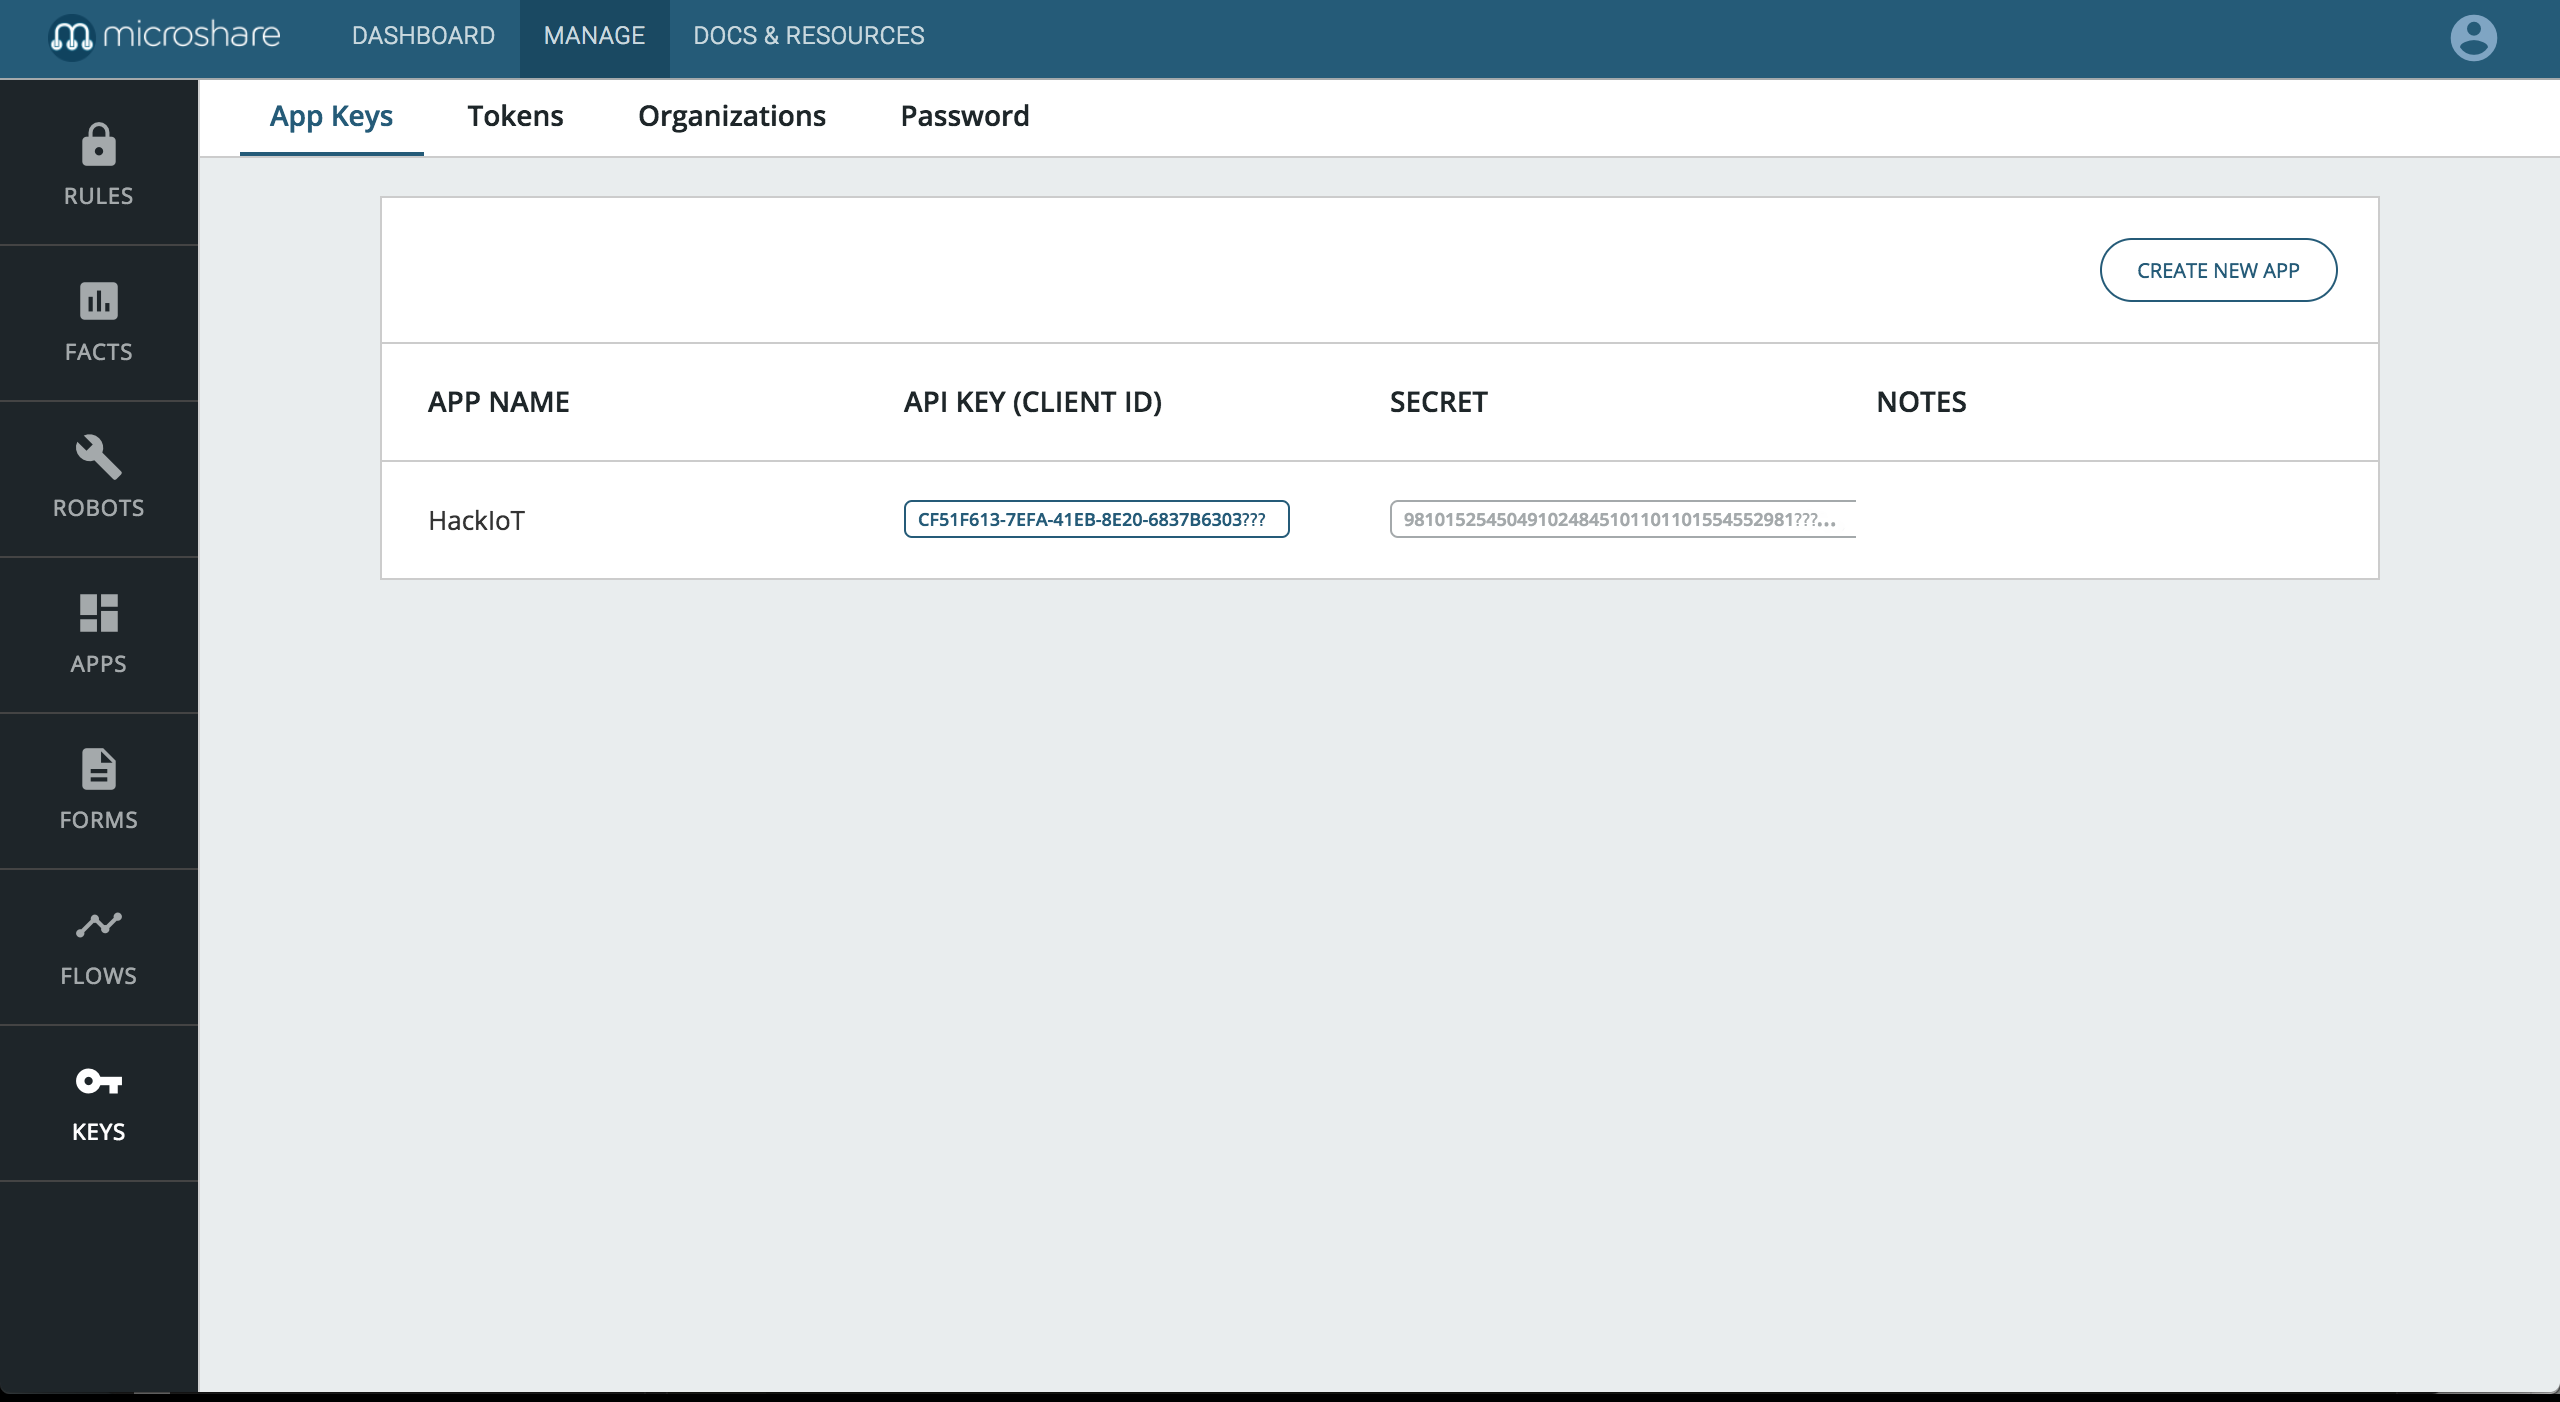
CREATE NEW APPand give a friendly name to your APIkey (why not “HackIoT”?). - Once the key is created, , click on the value in the API KEY (CLIENT ID) section to copy it to your clipboard. (See the screenshots below)
To finally generate the microshare Pipe Token:
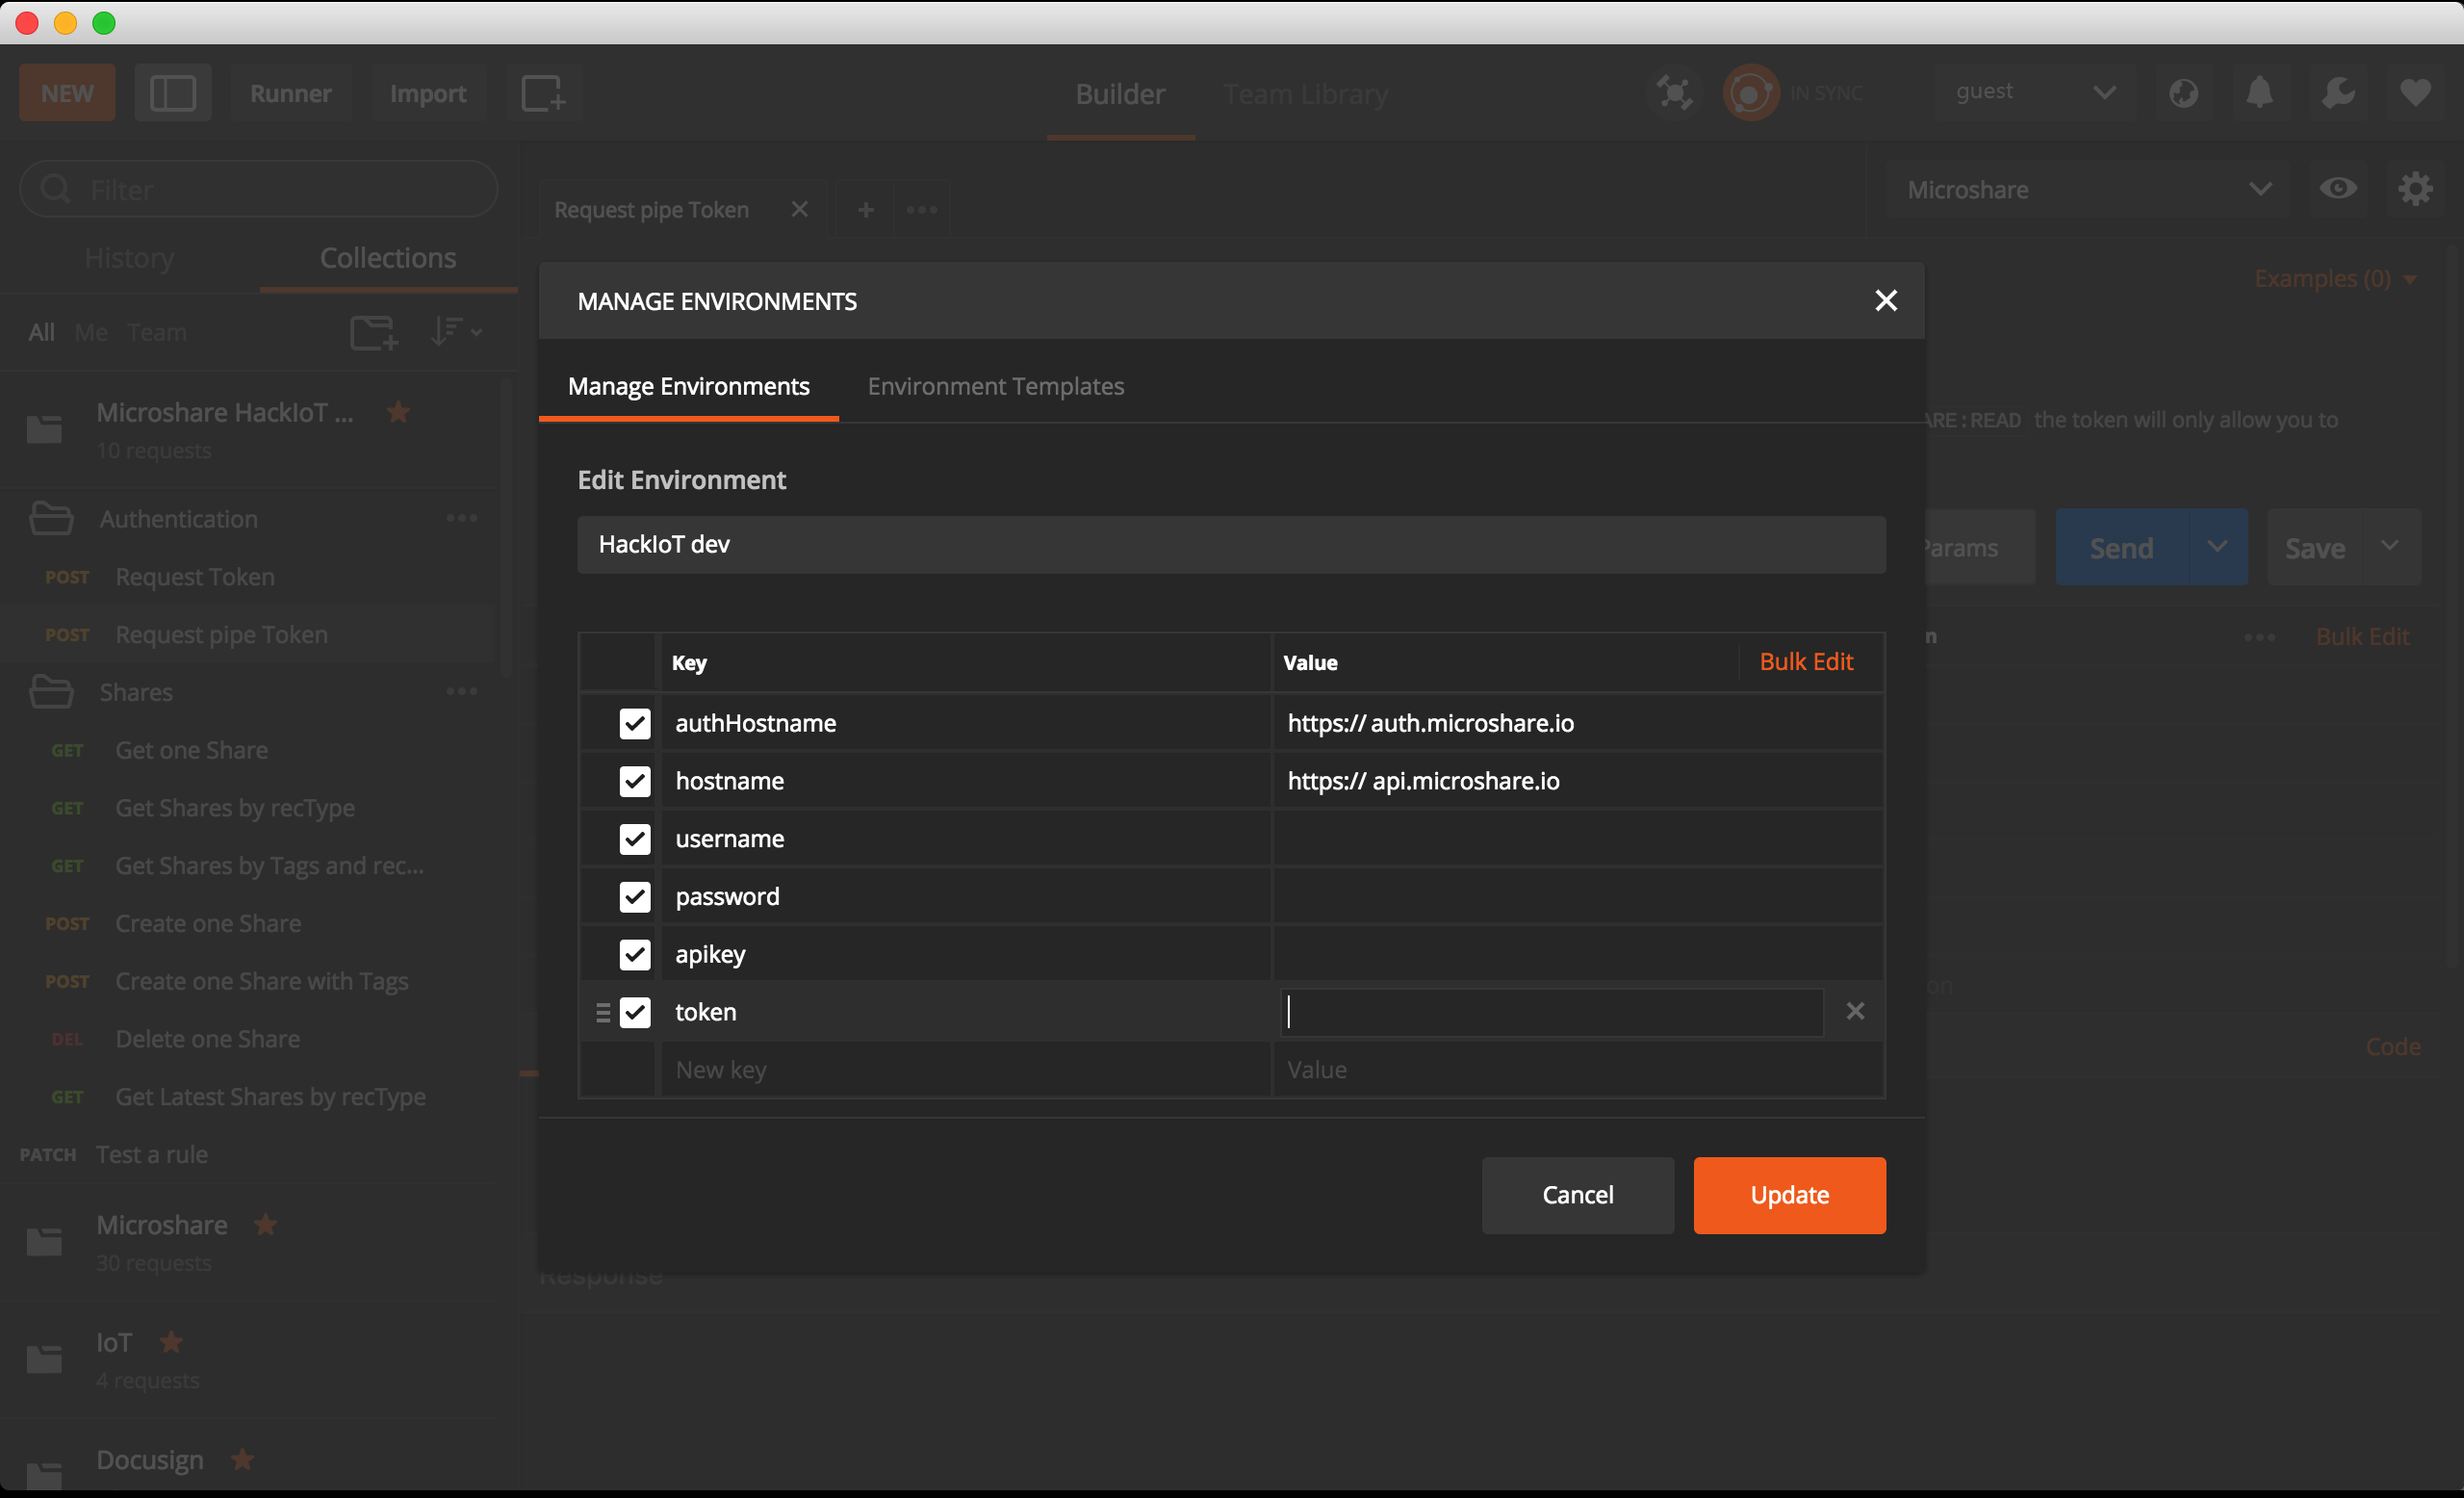
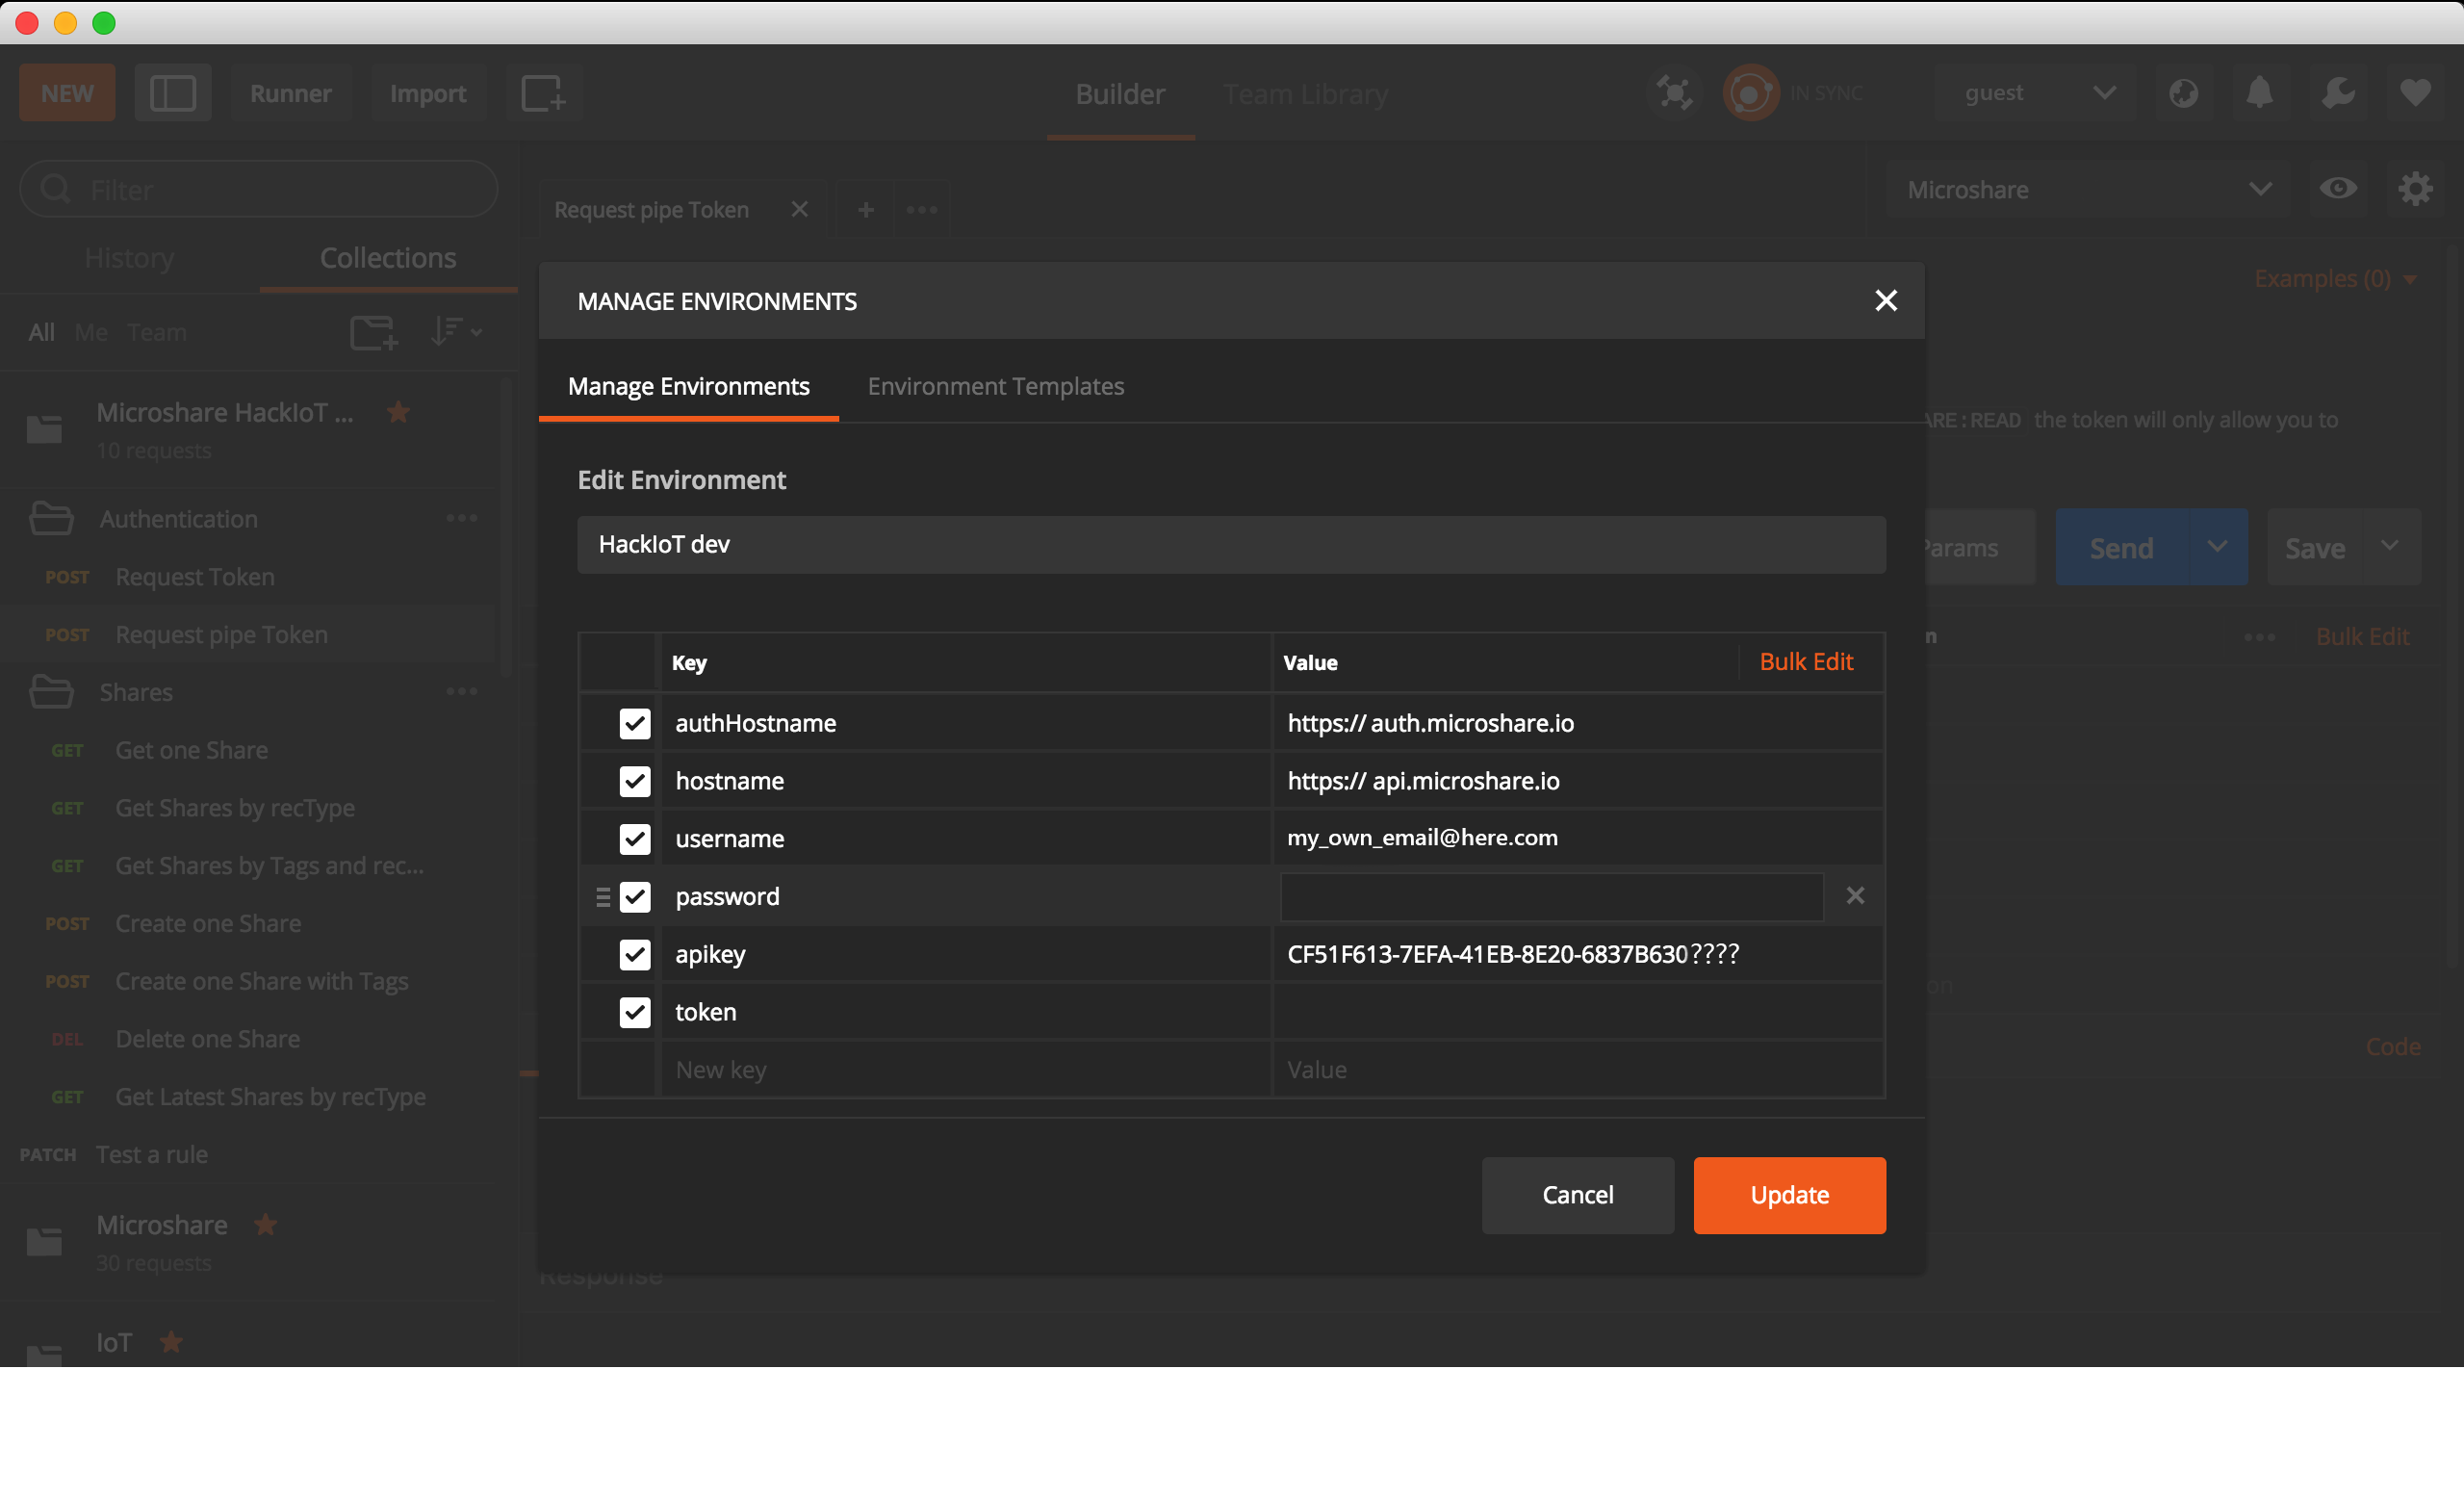
- Go back to Postman and edit your environment.
-
Copy the APIkey and enter your username and password.
- This allows you to run the request
Authentication -> Request pipe token. The generated token is returned under theaccess tokenkey in the result set and is valid for an unlimited time. The Pipe token can only be used to post data to the microshare platform.
Later we’ll use the Request Token call that returns an access token which is only valid for 48 hours and can be used with the other microshare APIs.
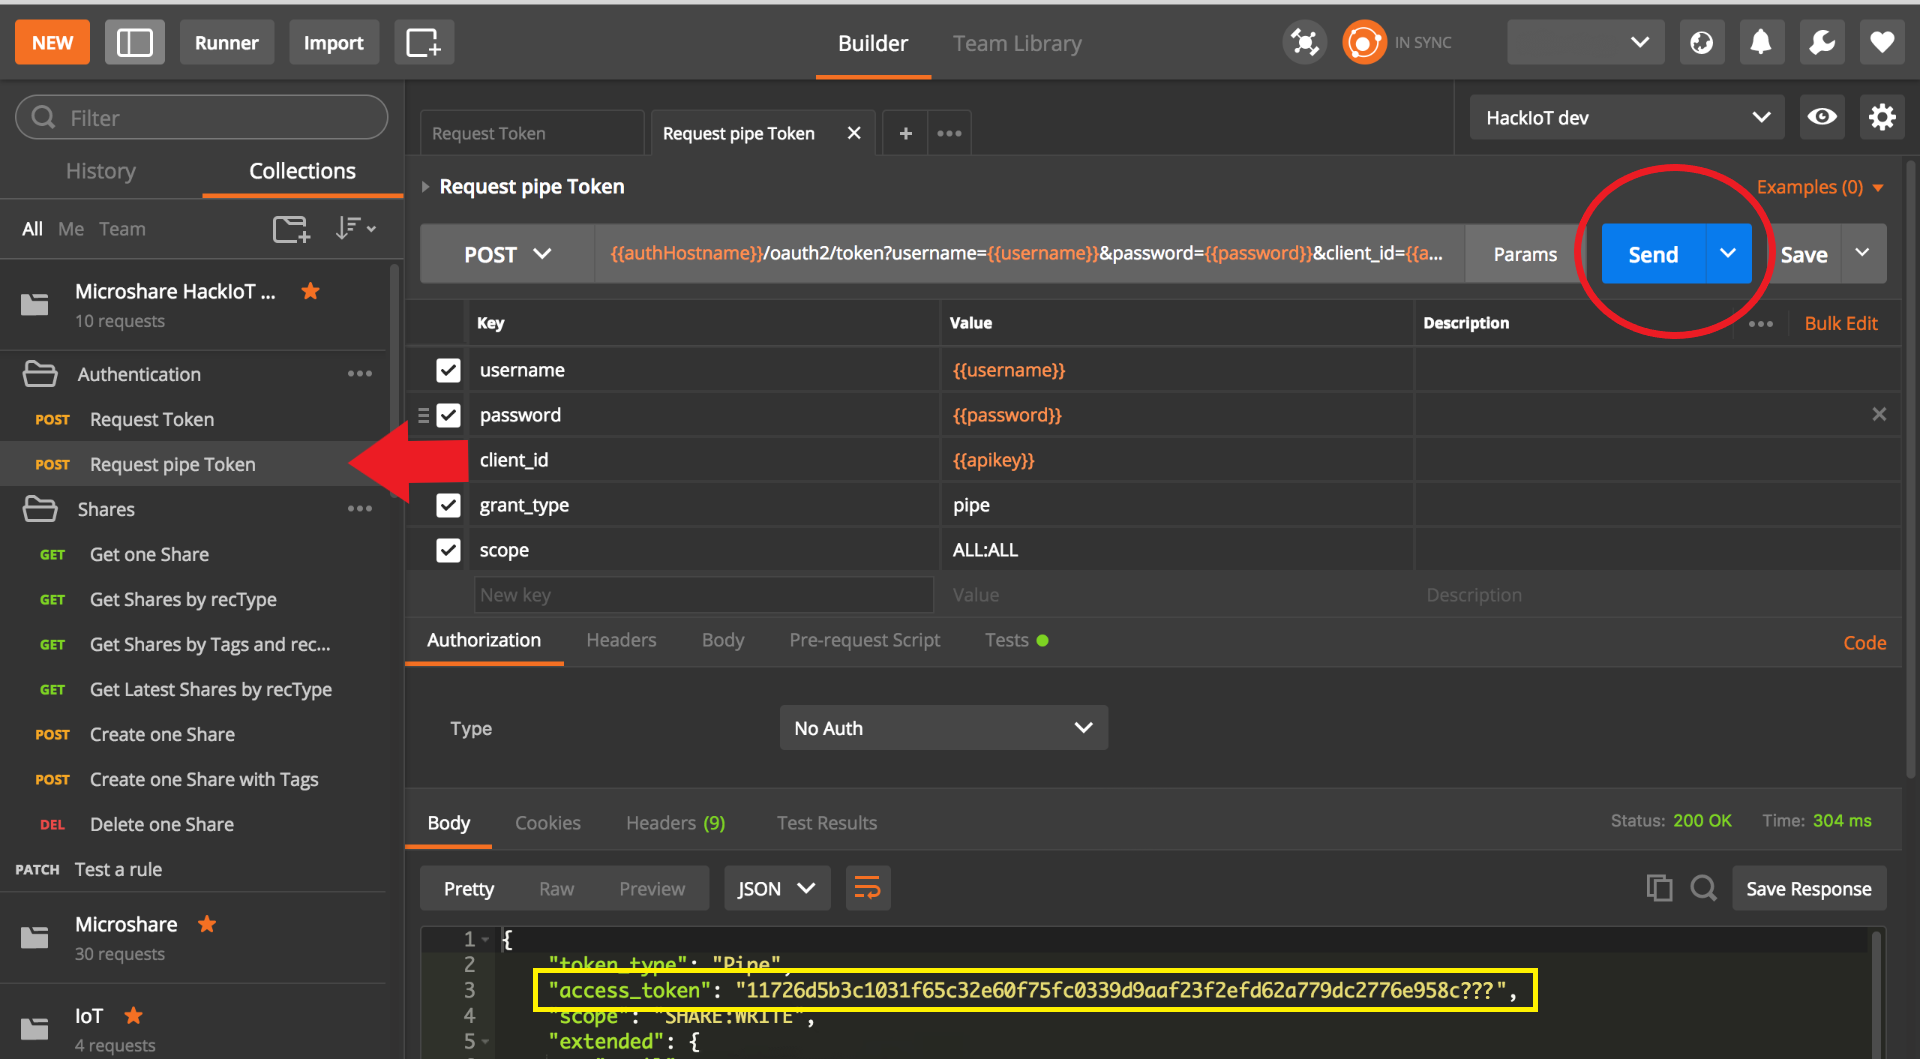
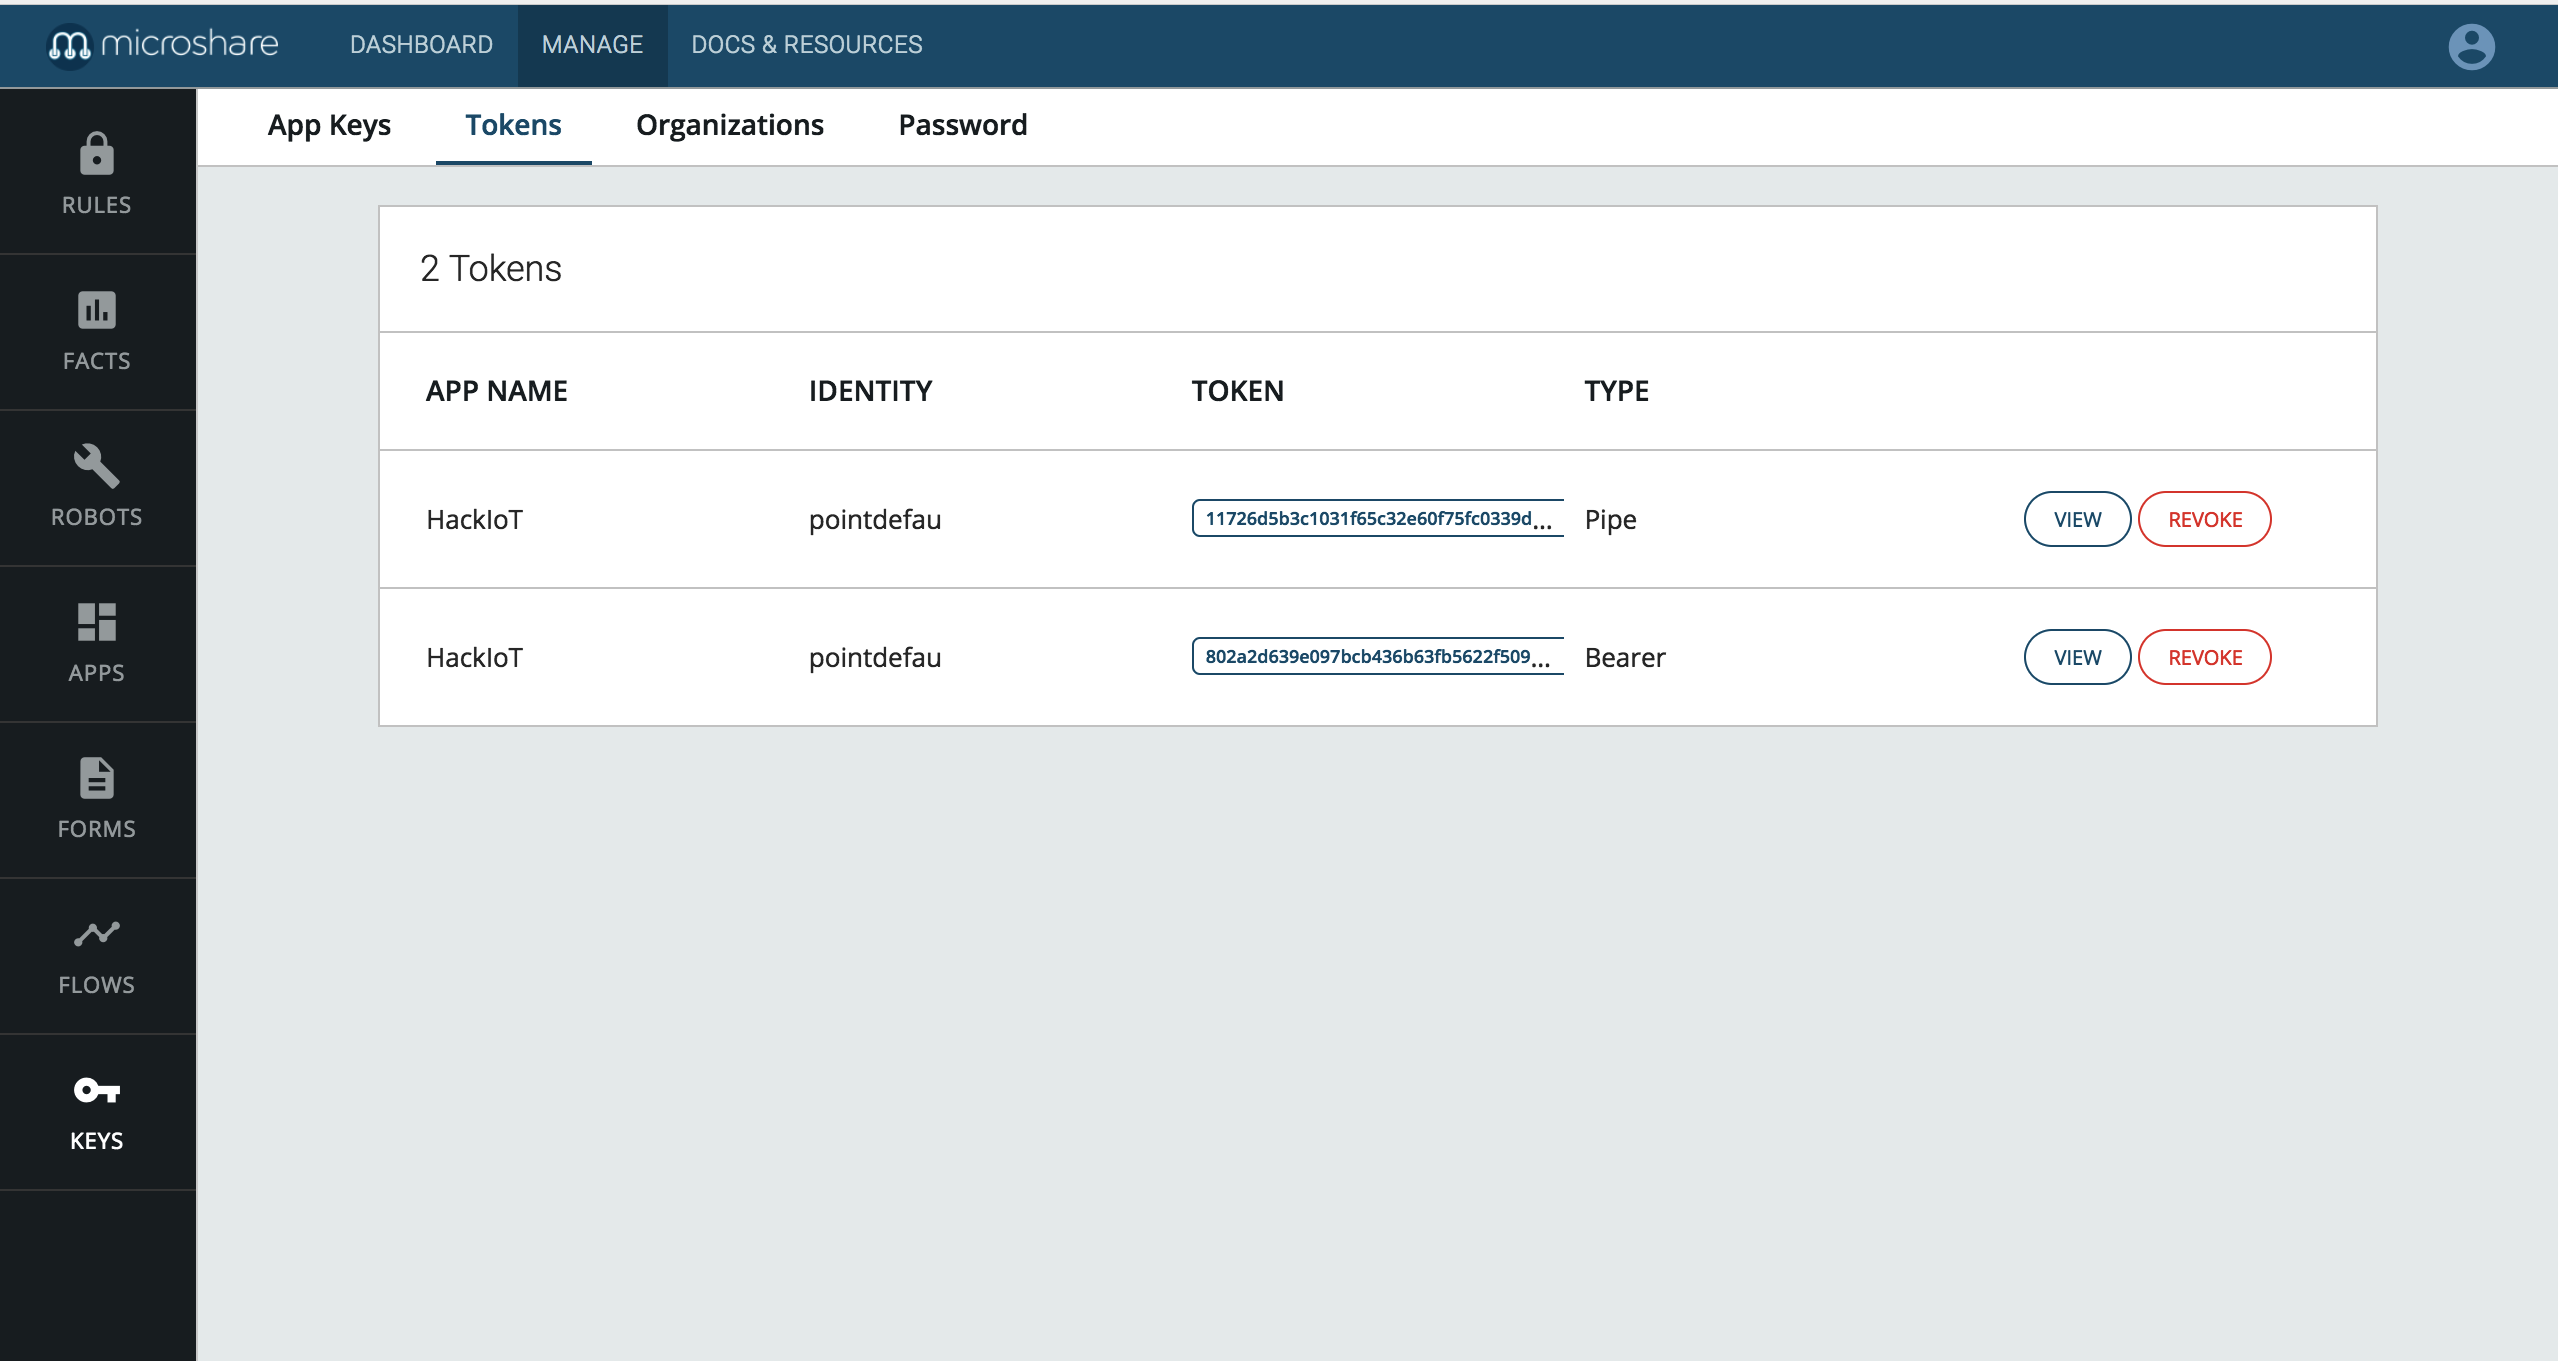
Note All generated tokens can be found, copied or revoked from the Manage -> Key -> Tokens screen in microshare. If you didn’t copy the pipe token just after the call, go on that screen, find the Pipe typed token and copy it.
Setup your notification target on Senet
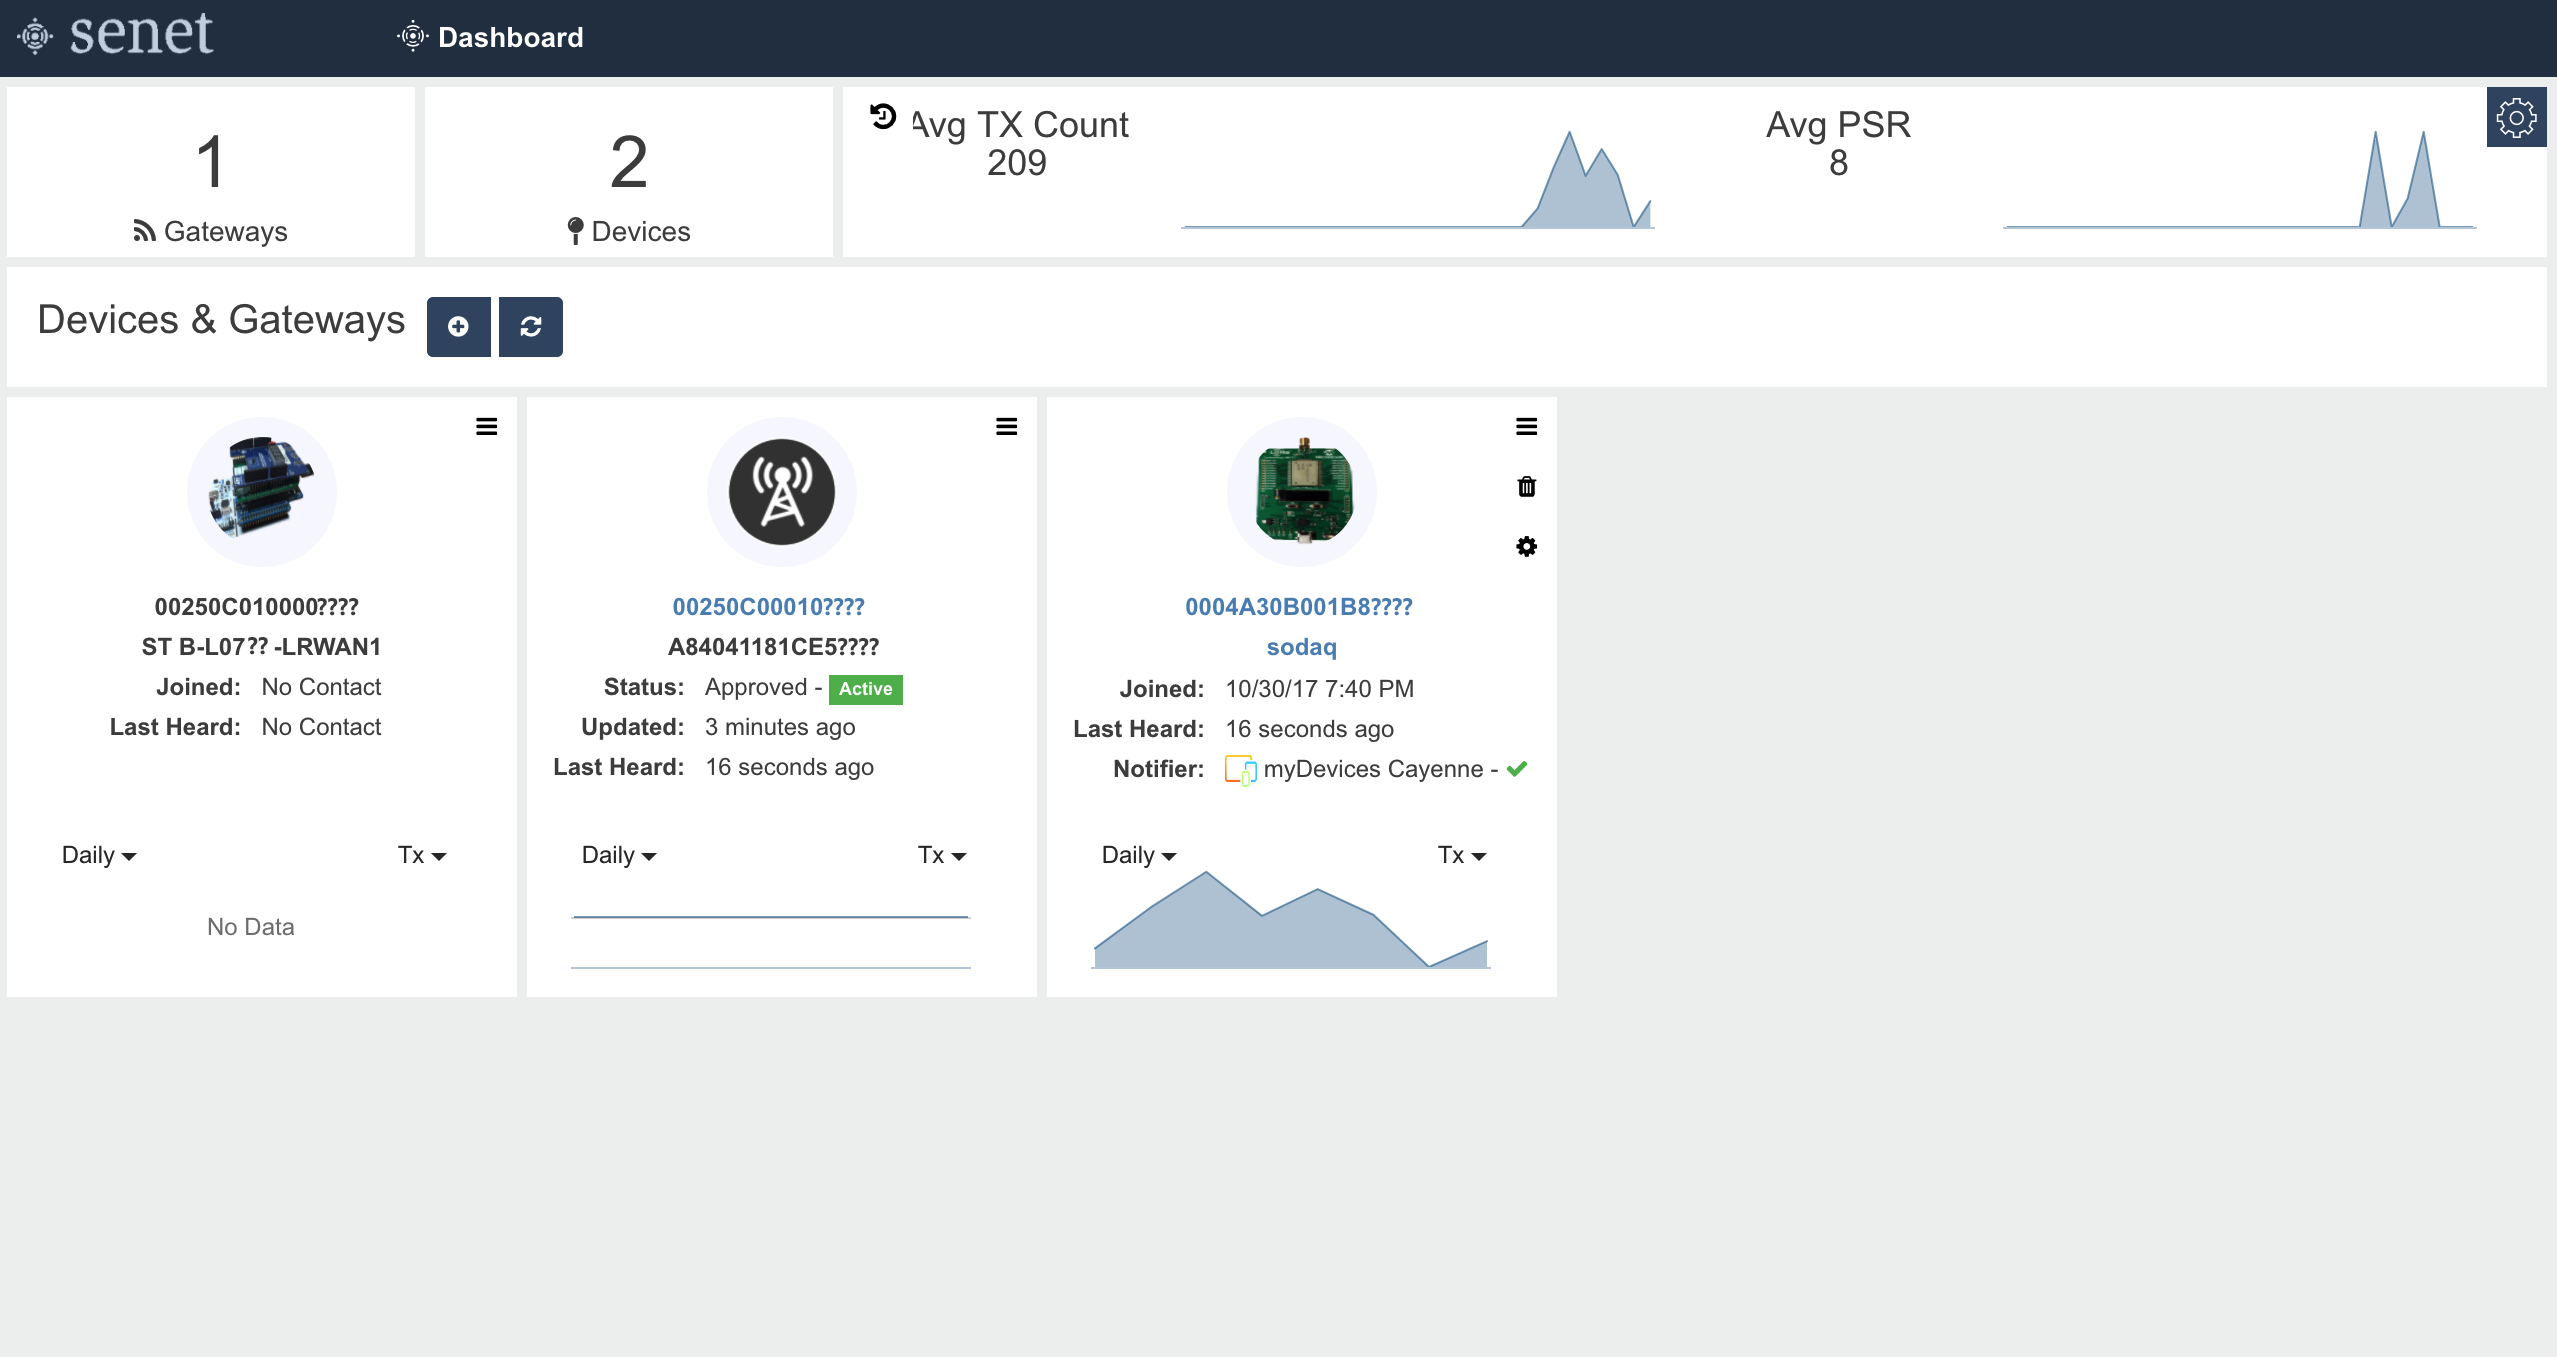
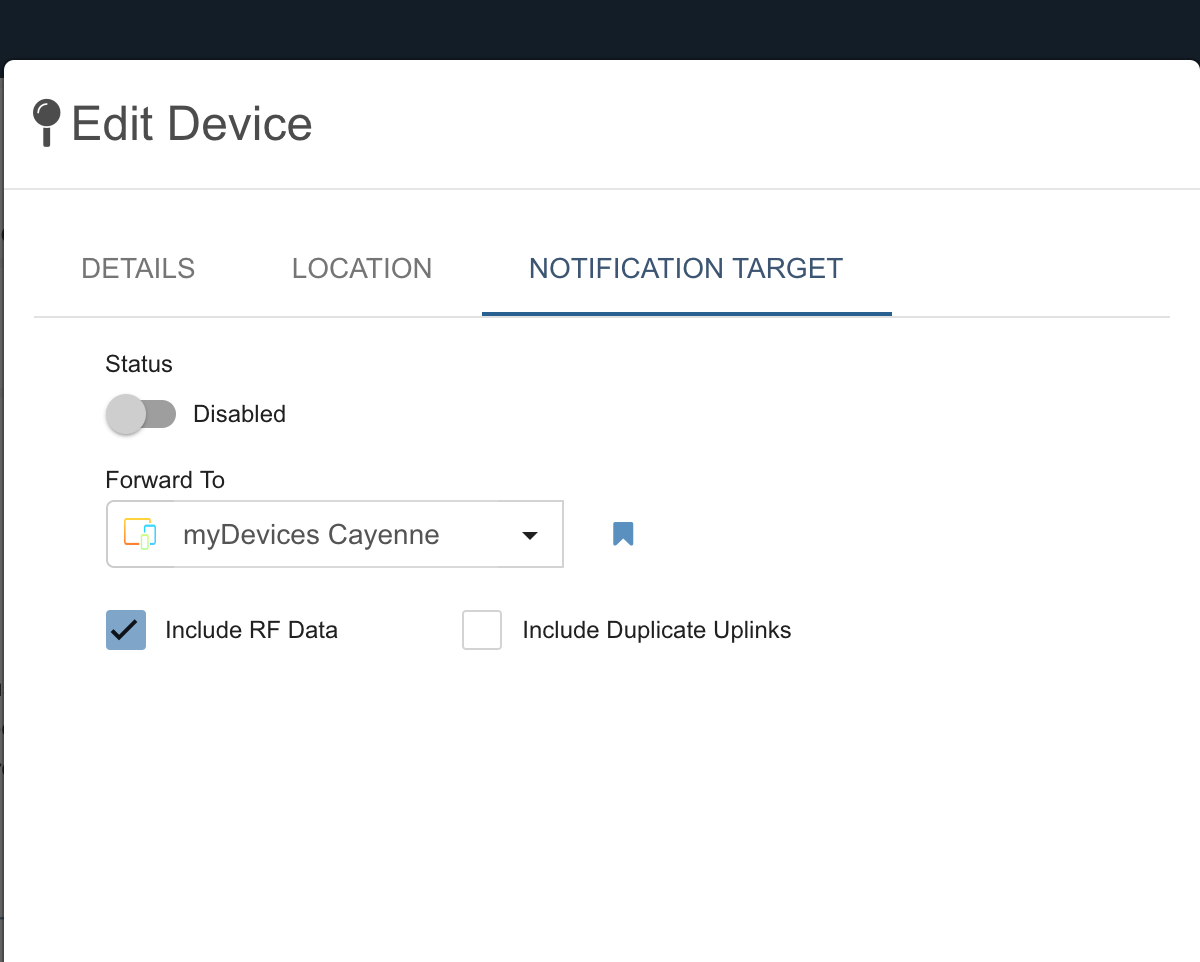
- Now that you have your generated token log into Senet and open the configuration of a device.
- Click the
Notification Targettab. -
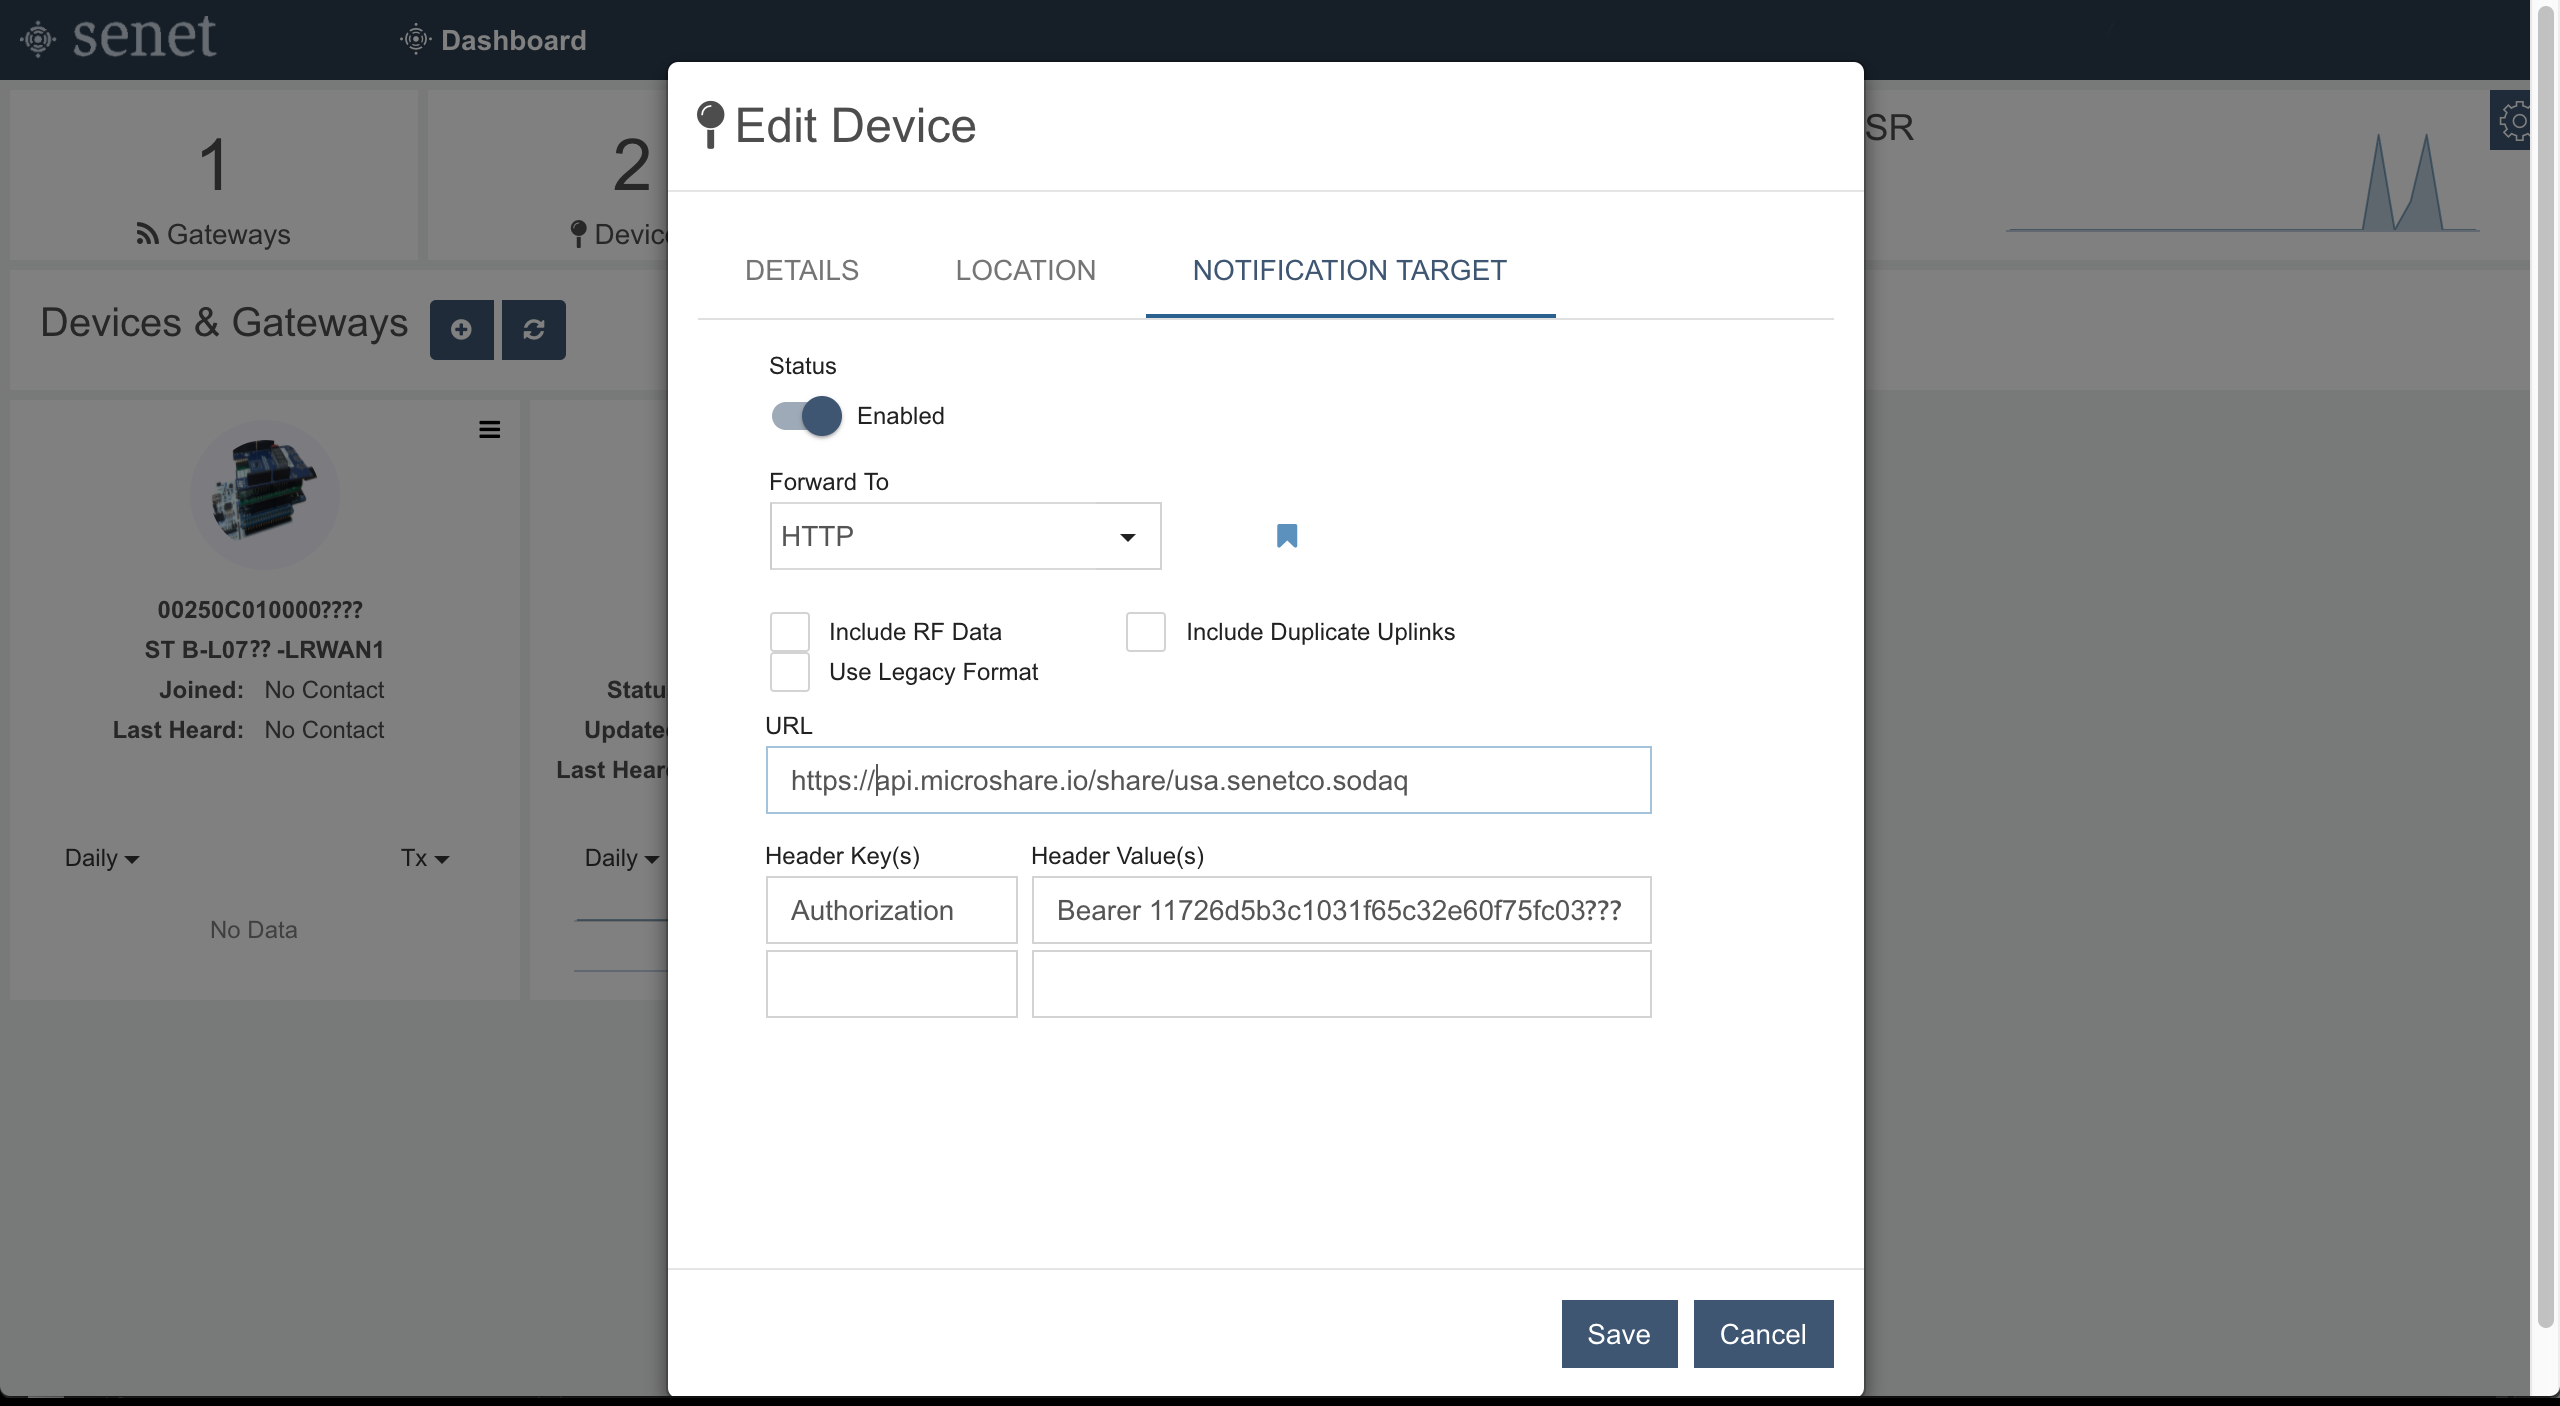
To redirect the packets to our API, use the
Forward to HTTPoption. - Since you have the pipe token in your clipboard, set that up first. Add a header parameter like this:
- Header Key: Authorization
- Header Value: Bearer
- Then enter this in the URL field:
https://api.microshare.io/share/< enter the recType you chose here>
Tip: We usually compose a recType based on the data’s origin, using a schema from the most general to more specific. For example, here the device is a sodaq board, provisioned in Senet, physically located in Philadelphia in the US, so the recType can be: us.philadelphia.senet.sodaq
All the other options are Senet specific, you don’t need them enabled for your sensor data to be posted to microshare. Learn more about the extra data you can add to your packet from the Senet documentation: http://docs.senetco.io/docs/stream/#packet-data
- Finally, don’t forget to enable the notification target.
Note You can only have one notification target per device in the Senet platform but you can use the same recType for several devices if you want their packets to arrive in microshare as a bundled stream.
Verify the data streaming to microshare
Your Senet device data should now be streaming to your microshare account. You can verify that with the microshare API.
You are going to use the Share -> Get Shares by recType call, for which you need a password token.
- Open and run the request
Authentication -> Request Token. The generatedaccess-tokenis automatically copied to your environment, so you are immediately ready to run other requests. - Open the
Shares -> Get Shares by recTypeto configure it. - Specify the recType you used in Senet in the query params.
- Click
Send. Ther response of the request is a view of all the data THAT YOU ONLY HAVE ACCESS TO stored under the specidifed recType:

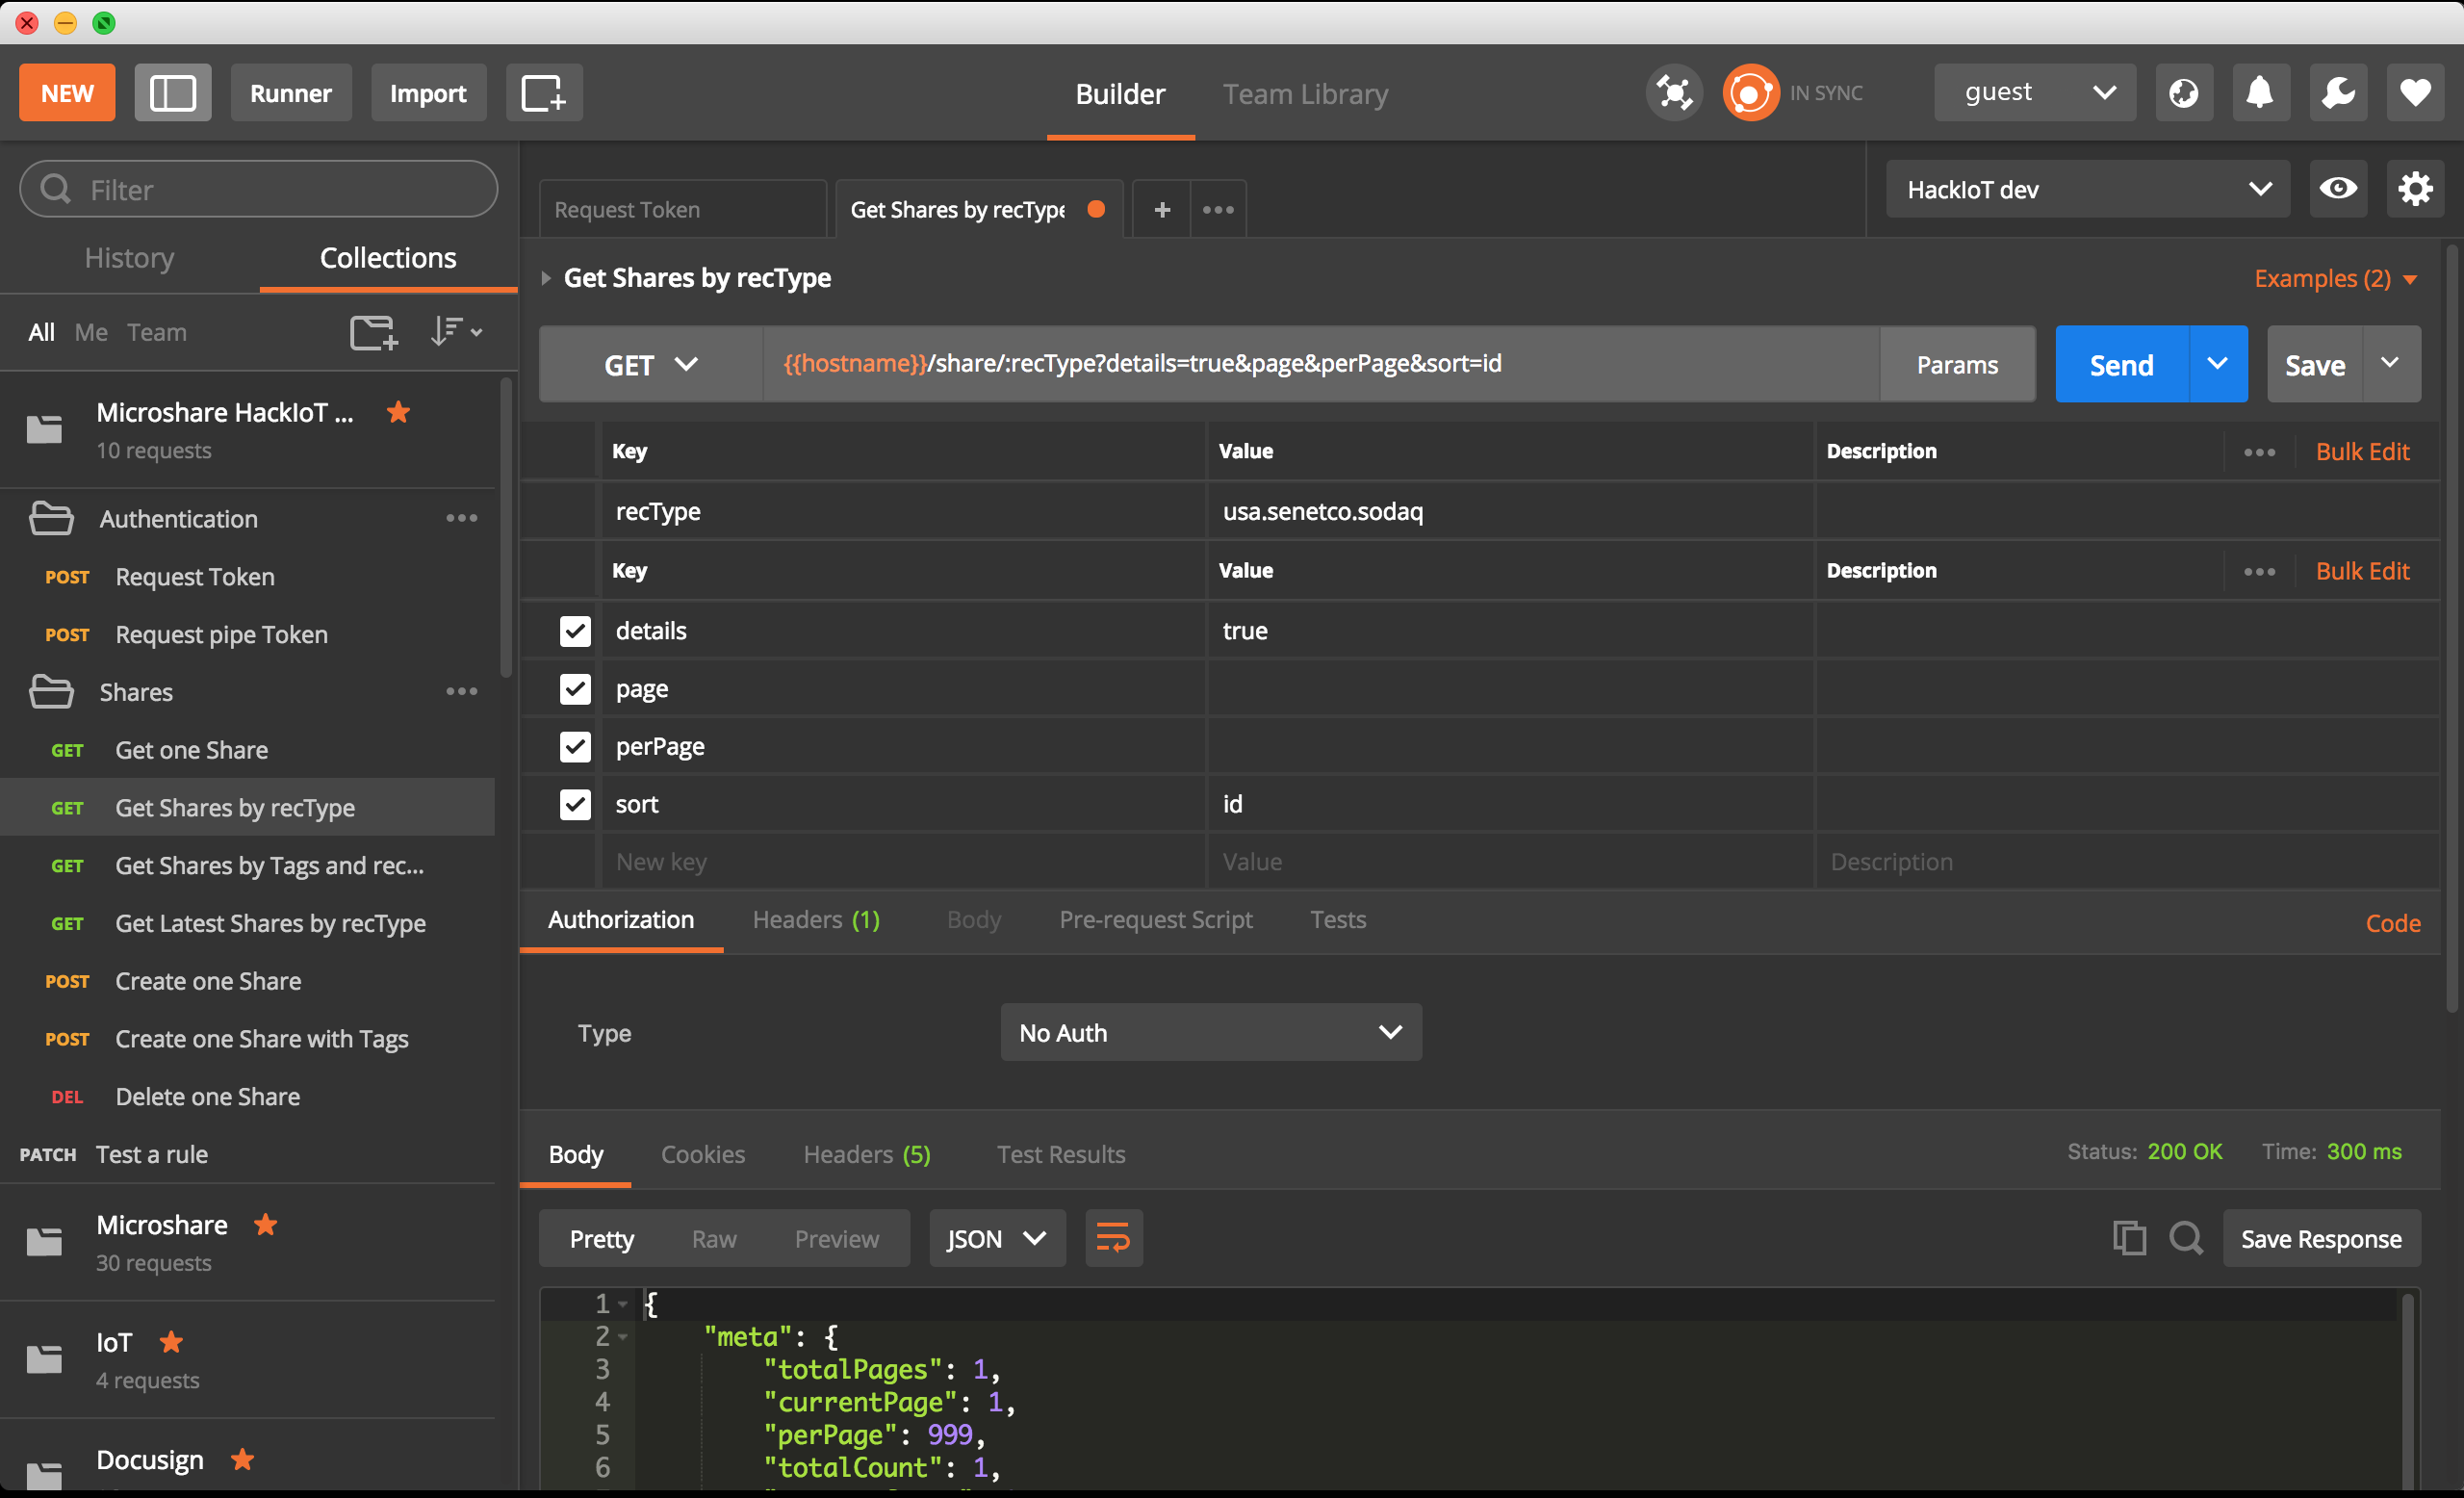
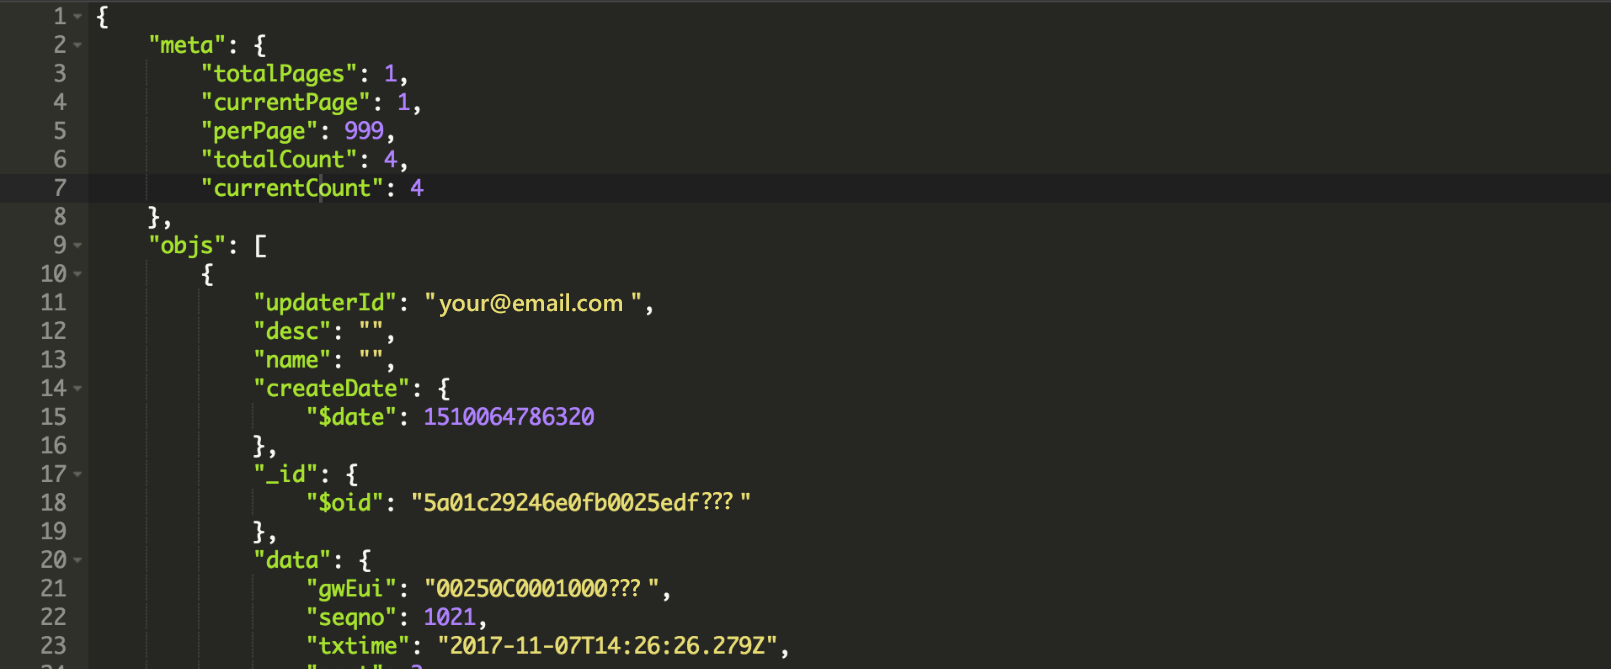
The Senet data is under the objs -> data keys. The pdu key holds your device’s payload data which is generally sensor data such as temperature, GPS or CO2 measurements.
Use our Robot decoding library to decode the Low Power Payload
If you execute the request again, the number of records will increase as the data is streamed. The microshare metadata tells you how many pages of records you have, and the total number of records (platform wide) stored under this recType.
Beware the totalCount value can be higher than the total number of records you own. This is because another user could be storing data under the same recType. Don’t worry, you will only see your data, and the other user will only see their data, unless you have created Rules to share your data.
Learn more on how to work collaboratively with other users by sharing records, check out our Rules guide