Room Occupancy Monitoring Installation Guide
How to install a Microshare Room Occupancy Monitoring solution
Room Occupancy Monitoring Solution Installation Guide
This document includes important details on the correct, safe and efficient methods of installation for Microshare Smart FM Solutions.
We have delivered and installed thousands of sensors to clients all over the world across a wide range of range of applications, so please get in contact with us if you need any assistance. Our expert team are on hand and ready to support you.
Contact installation@microshare.io should you require any assistance
Note Using your Microshare solutions safely
- Follow the stated battery requirements before installing any batteries.
- Never force a connector into a port. If the connector and port don't join with reasonable ease, they probably don't match. Make sure that the connector matches the port and that you have positioned the connector correctly in relation to the port.
- Protect Microshare sensors from direct sunlight, wherever possible.
- Use Microshare solutions in environments according to their specification. Most products arefor indoor use only.
- There are no user-serviceable parts inside Microshare sensors. For service personnel: Alwaysunplug external power supply, remove batteries, and turn off UPS battery before service operation.
- Microshare sensors may be damaged by improper storage or handling. Take care not to drop them during transport and installation.

WARNING: Do not attempt to open or disassemble any Microshare solutions. You run the risk of electric shock and voiding the limited warranty. No user-serviceable parts are inside.
This information could include technical inaccuracies or typographical errors. Changes are periodically made to the information herein; these changes will be incorporated in new editions of the publication. Microshare may make improvements and/or changes in the product(s) and/or the program(s) described in this publication at any time without notice.
SC03 – Room Occupancy Monitoring
The Room Occupancy Monitoring solution from Microshare is a complete sensing service for better managing meeting room and others shared space availability and utilisation.
What's in the box? In terms of deploying quickly, the Room Occupancy Monitoring solution from Microshare includes long-life (up to two years) battery-operated wireless sensors, which can be easily and discreetly installed in meeting rooms, device connectivity, access to data and alerts via Microshare for Business dashboards or direct API access to data through Microshare Smart Network.
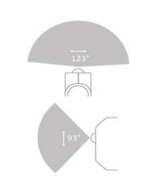
Sensing range without cap
Installation instructions:
| 1. Activating the wireless sensor - Our wireless sensors are pre-installed with batteries. To activate pull the shipping isolating battery tab from the sensor. - After around a minute, the LED on the sensor should begin to flash intermittently. |
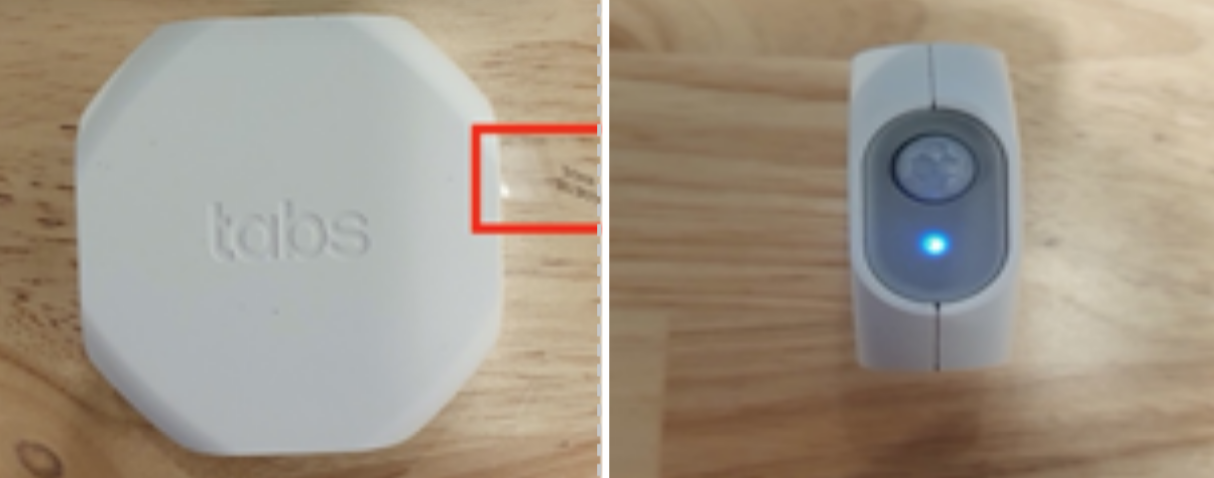 |
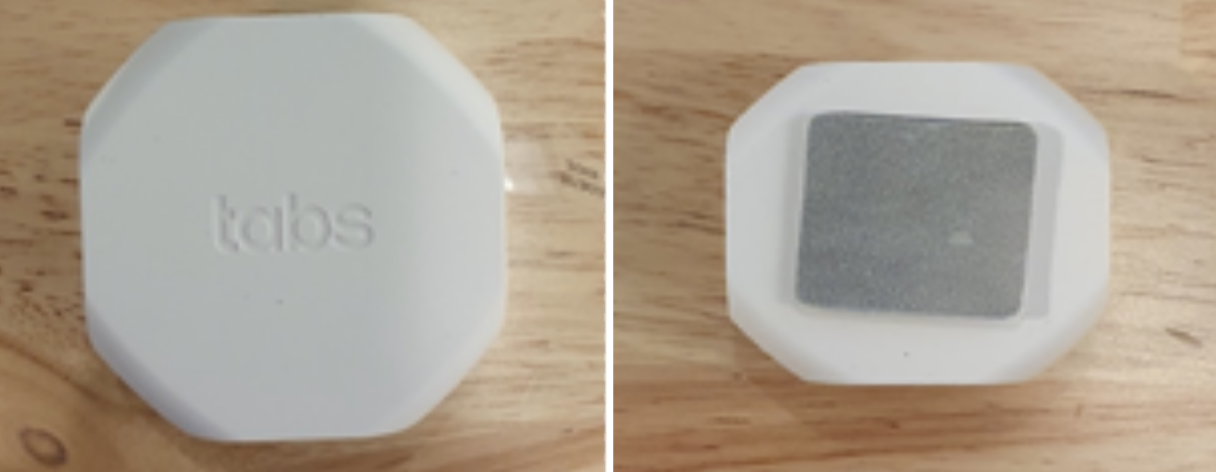
| 2. Preparing the sensor for fixing - If you are fixing the sensor using suitable adhesive tape, ensure that you place the tape on the opposite side of the QR code. |
 |
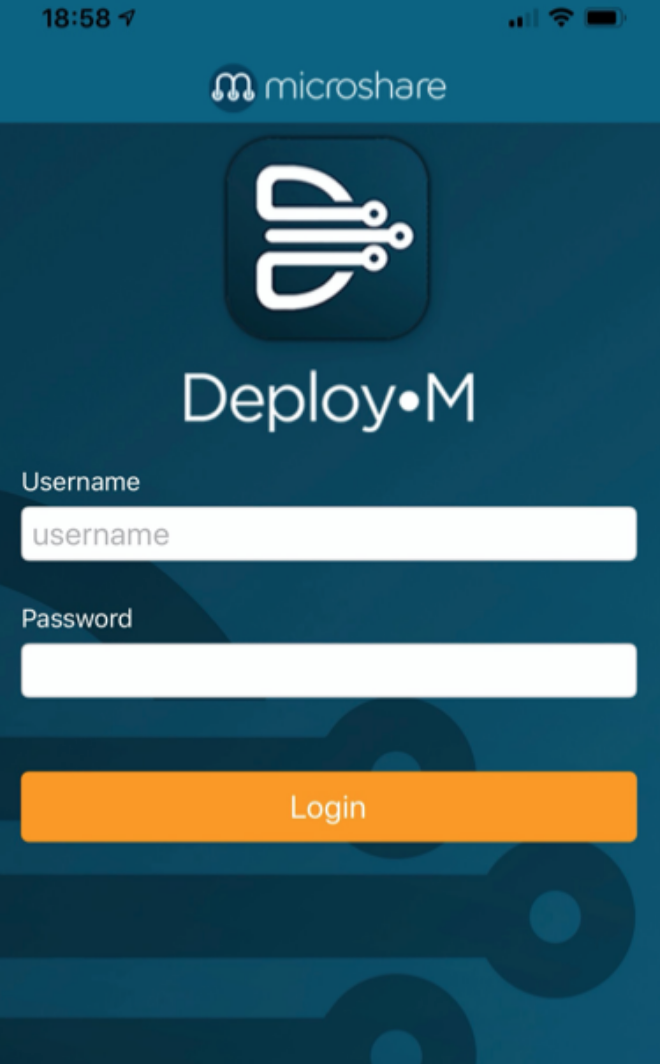
| 3. Registering the sensor using the Deploy-M app [iOS & Android] - You should already have the Deploy-M app and login details as part of your project set-up with Microshare - Login using your credentials, if you are unsure or require assistance, please contact installation@microshare.io |
 |
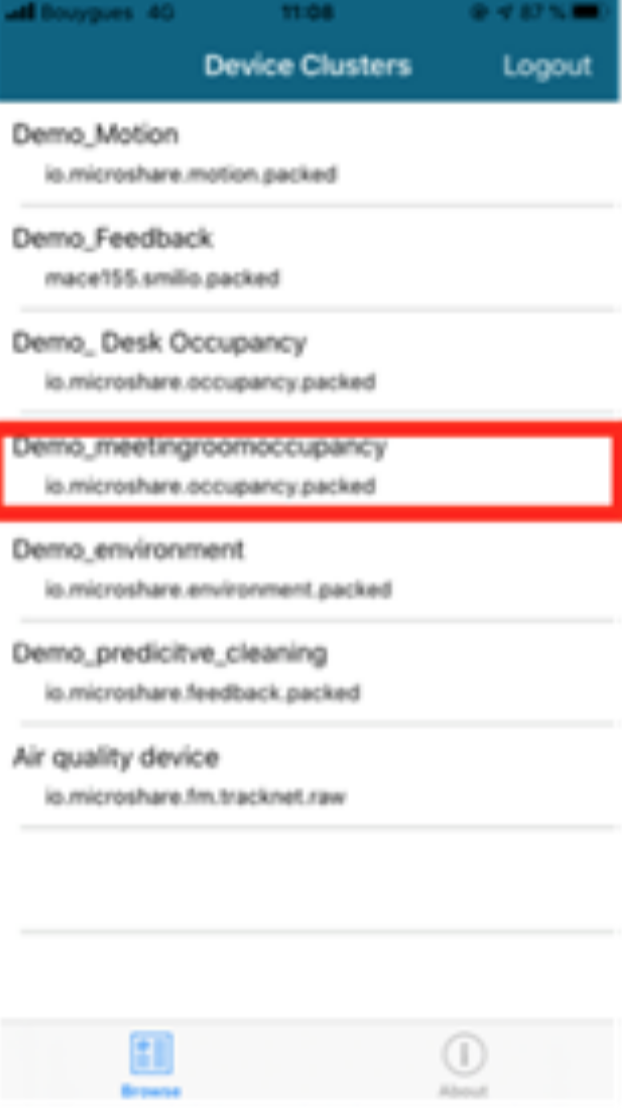
| - Select the correct device cluster for the devices you are installing. Note – a "Device Cluster" is simply grouping of sensors, usually in one space, that helps identify and annotate the data you receive from your Microshare solution. |
 |
| - Select the correct location where the device will be installed. |
|
| - Click Add | 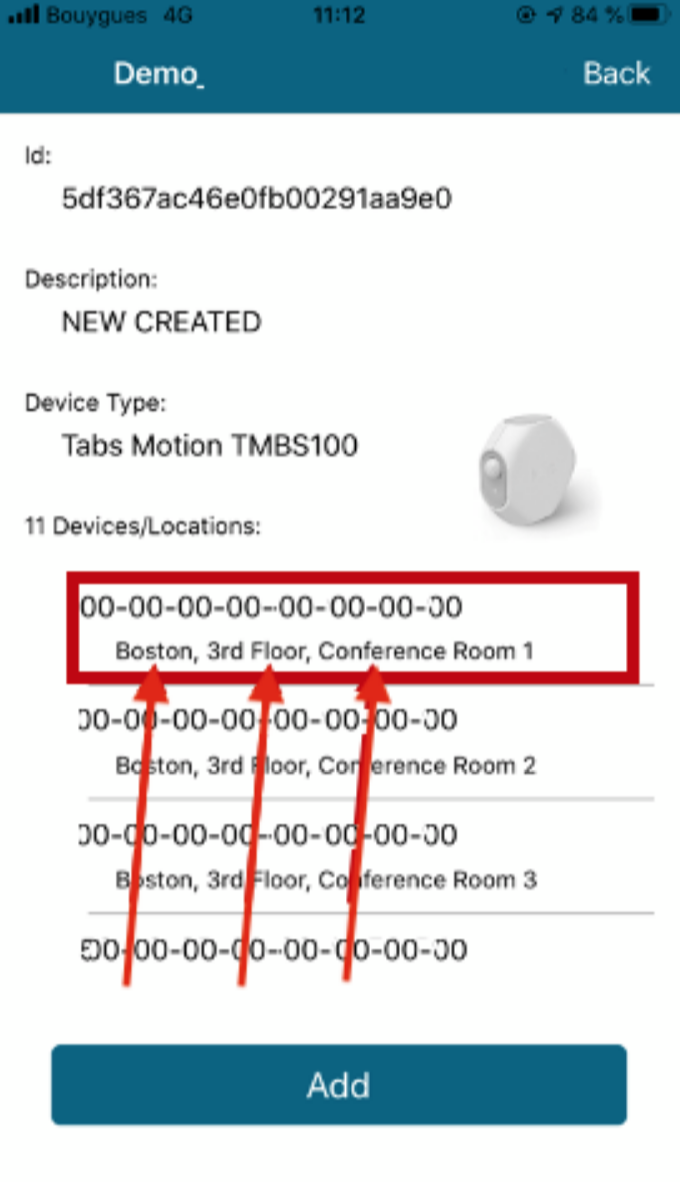 |
| - Once the sensor has been added to the correct location on the app, click 'RESCAN' to open the devices camera | 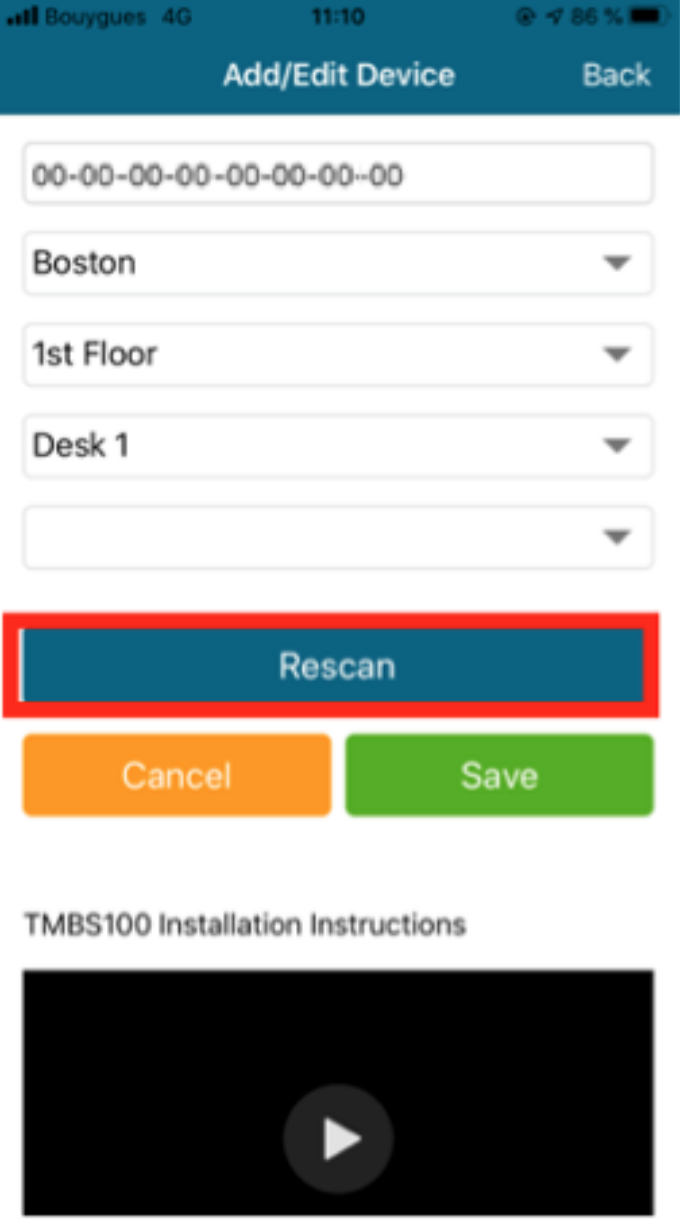 |
| - Scan the QR code located on the Sensor | 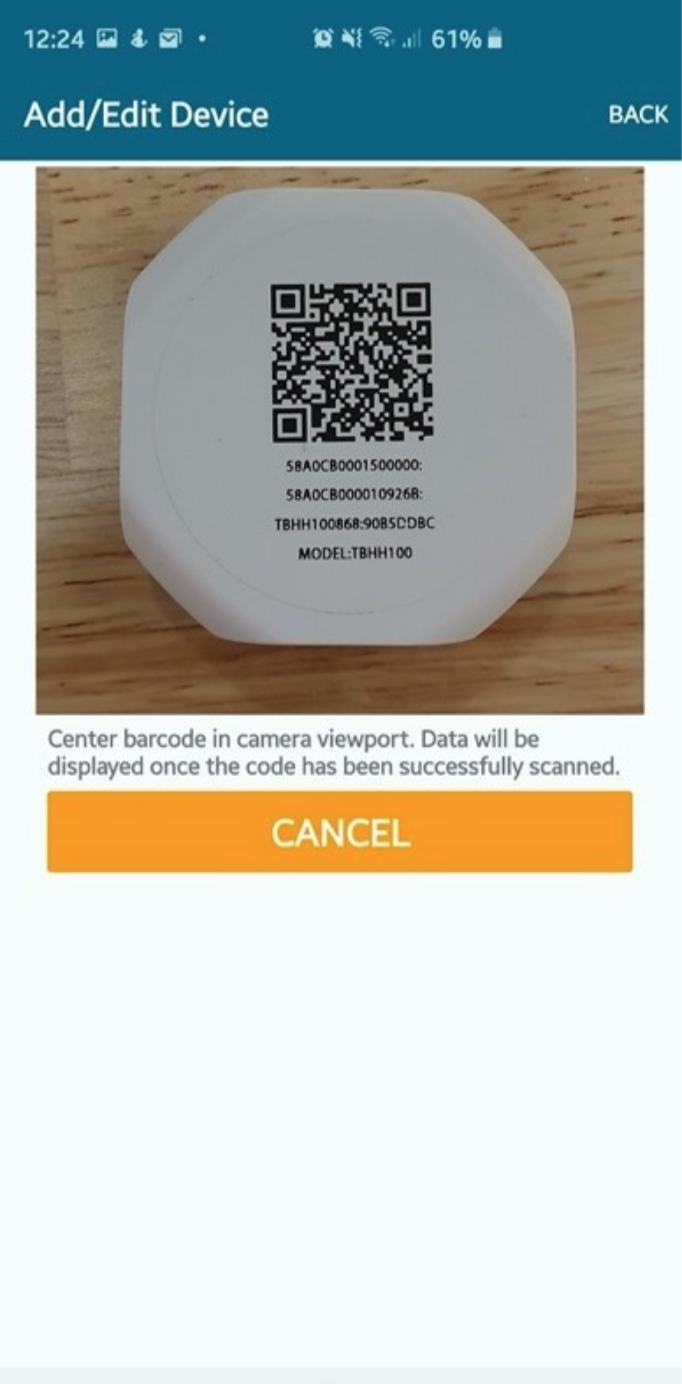 |
| - Check that the Dev EUI [usually the second code on the sensor under the QR code] the shown matches the one on your device, then select save from the bottom of the screen. | 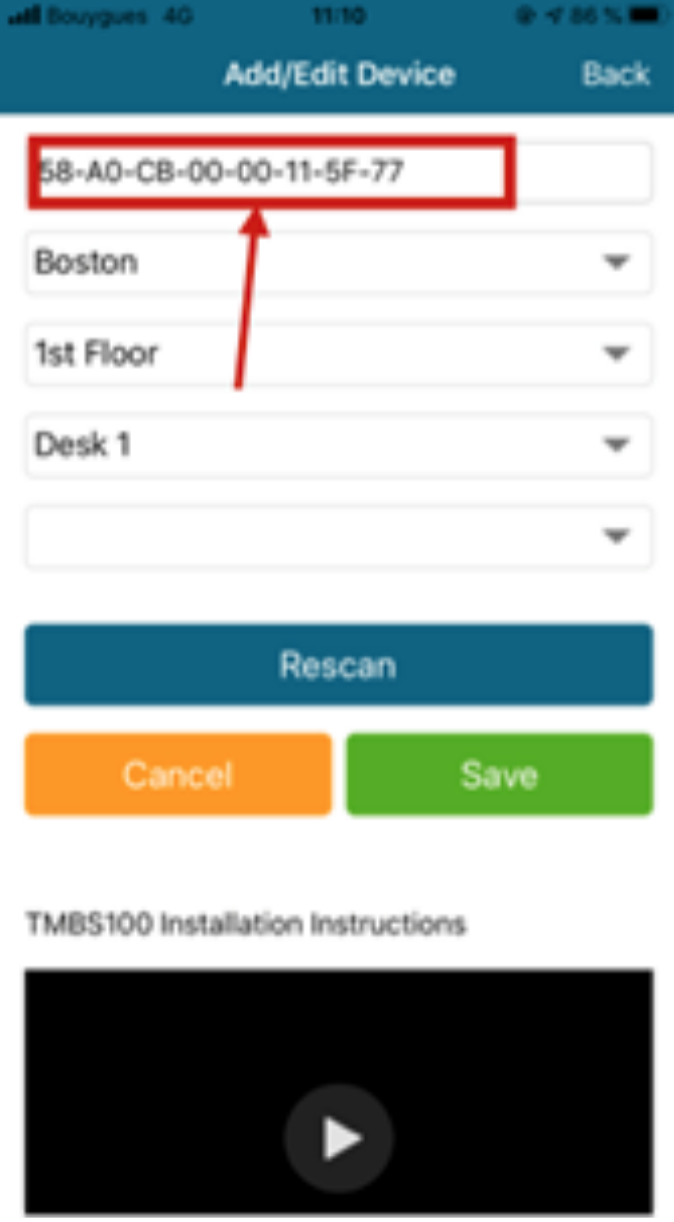 |
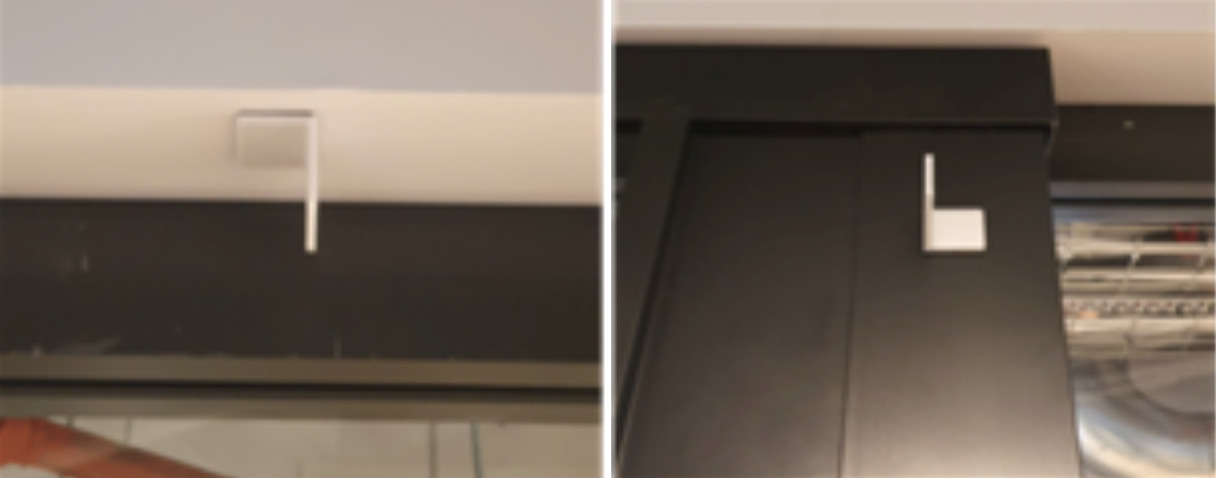
| 4. Fixing the sensor bracket - Peel the sticker on the back of the provided bracket and attach it to the ceiling or other surface in a good vantage point for the room. - Using the field of vision image shown above, install the device at a position and angle that best places the space within range of the sensing element. Typically, these devices are installed in the middle of the room where the wall meets the ceiling. |
 |
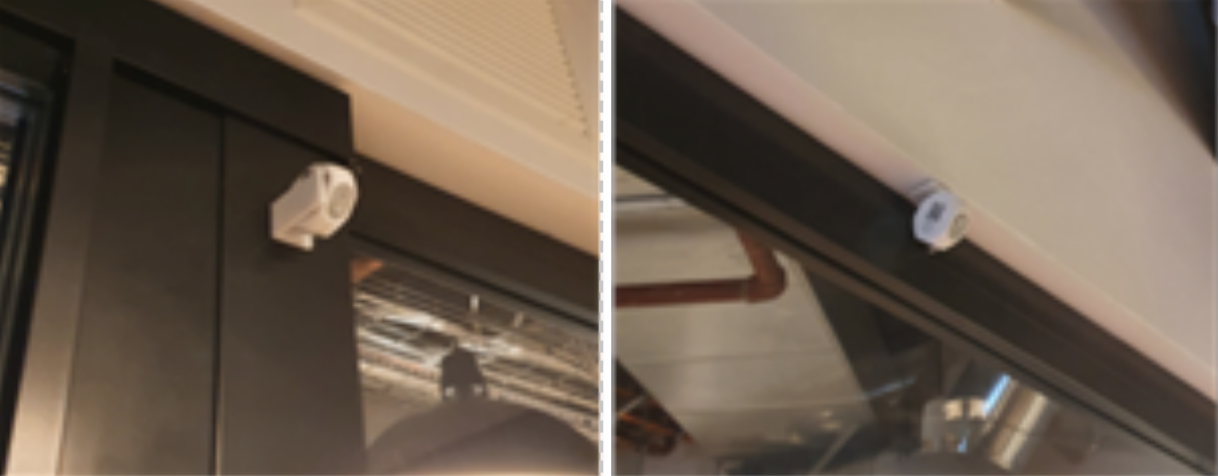
| 5. Fixing the sensor - Once you have completed the registration of the sensor on the Deploy-M app, you are ready to fix the sensor in place. - Using the adhesive pad on the sensor, attach to the bracket with the QR code still visible, at approximately a 45-degree angle with the PIR sensor and LED facing into the room |
 |